Why Homestead?

Why Homestead

When I first began talking about “Homesteading” I received many a side-eye. It’s a word that has been long forgotten and, in my circles, likely produced thoughts of old-world struggle. I didn’t quite grasp the concept when I had first witnessed its trend a few years ago after reading of families who escaped the corporate world to live in debt-free tiny homes, or ladies on Instagram hunting down Sarah Ban Breathnach’s book “Simple Abundance”. However, there was something gripping me as well, I can’t quite explain where it came from. Perhaps it was the call from my ancestors to slow down and reconnect with my spirit. I read blogs about crating Hygge, Urban Farming and Cottagecore, so I tried dipping my toes in and see how it felt to create instead of consume.


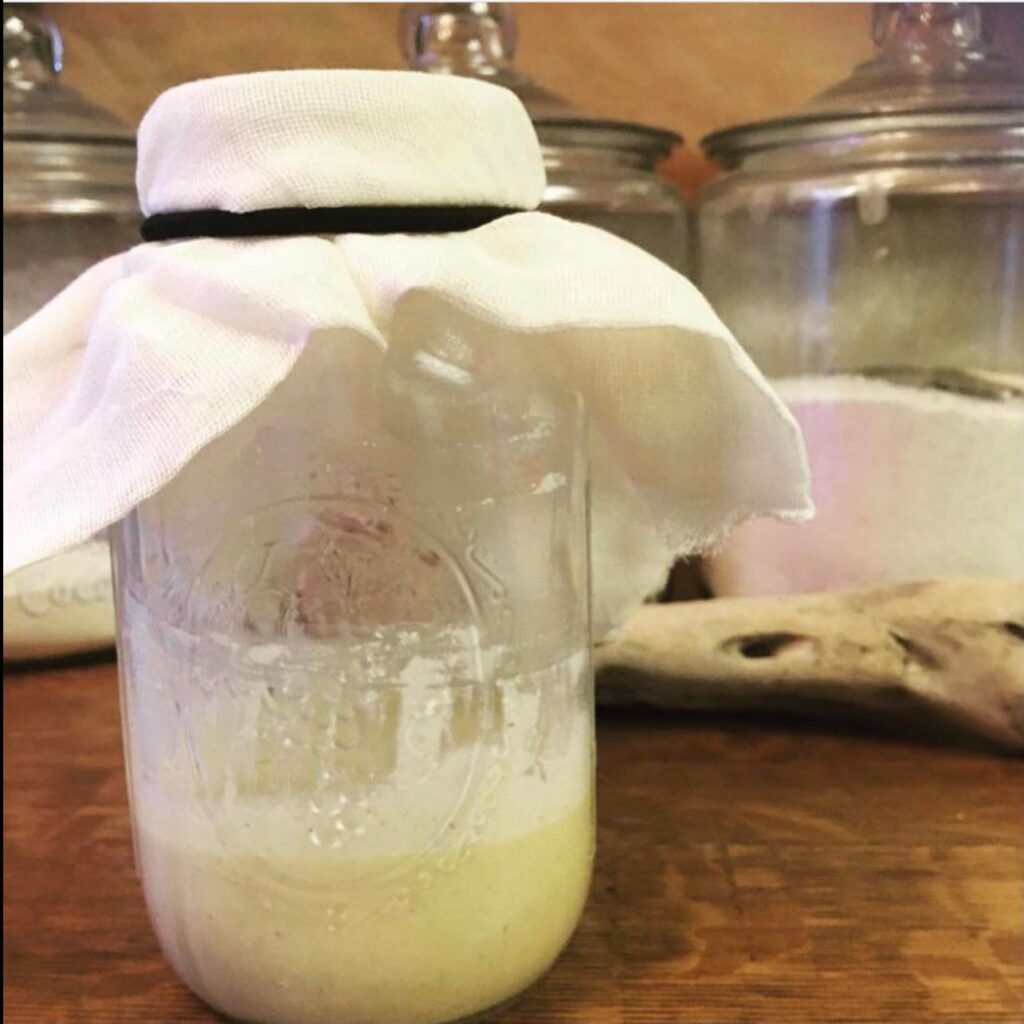
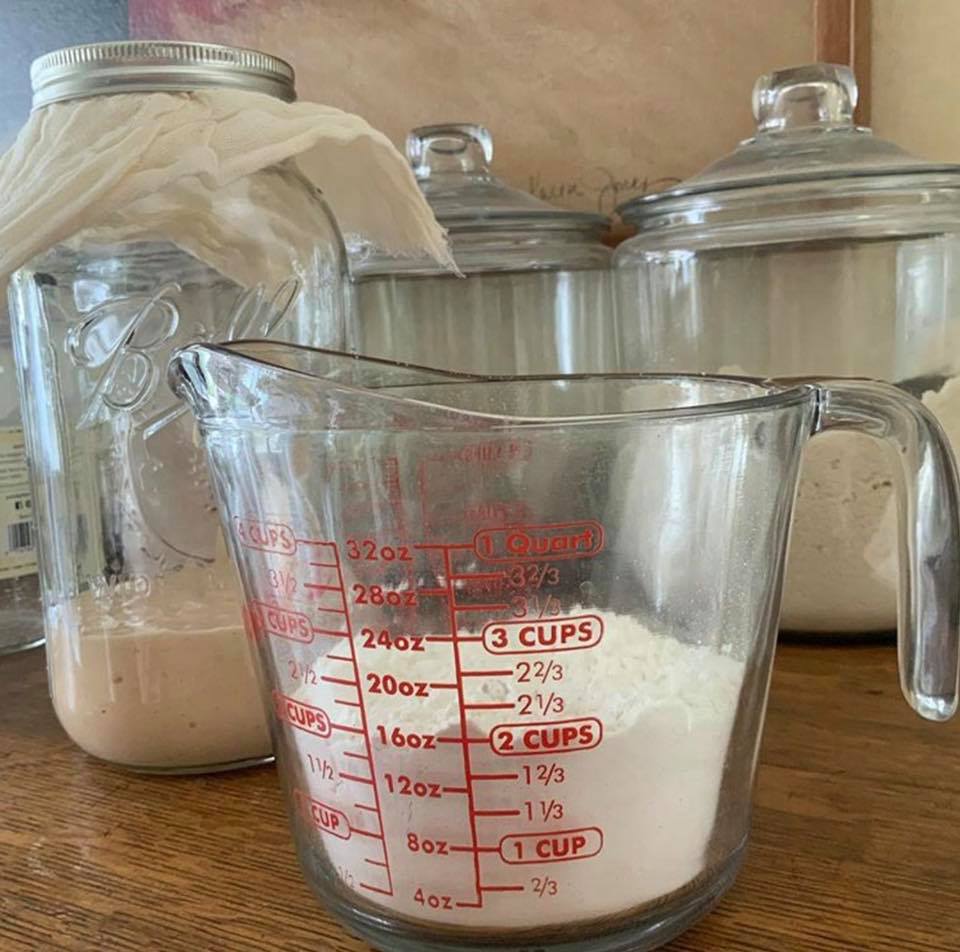
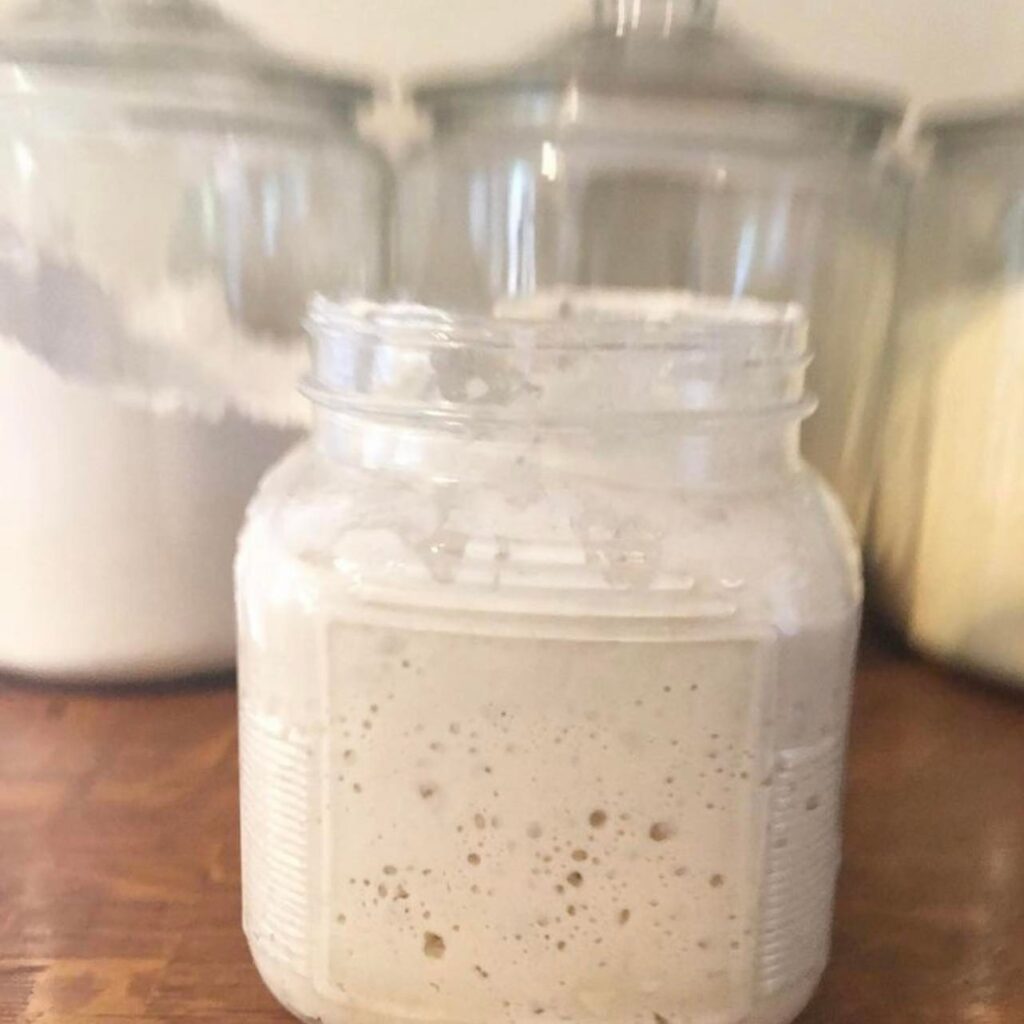
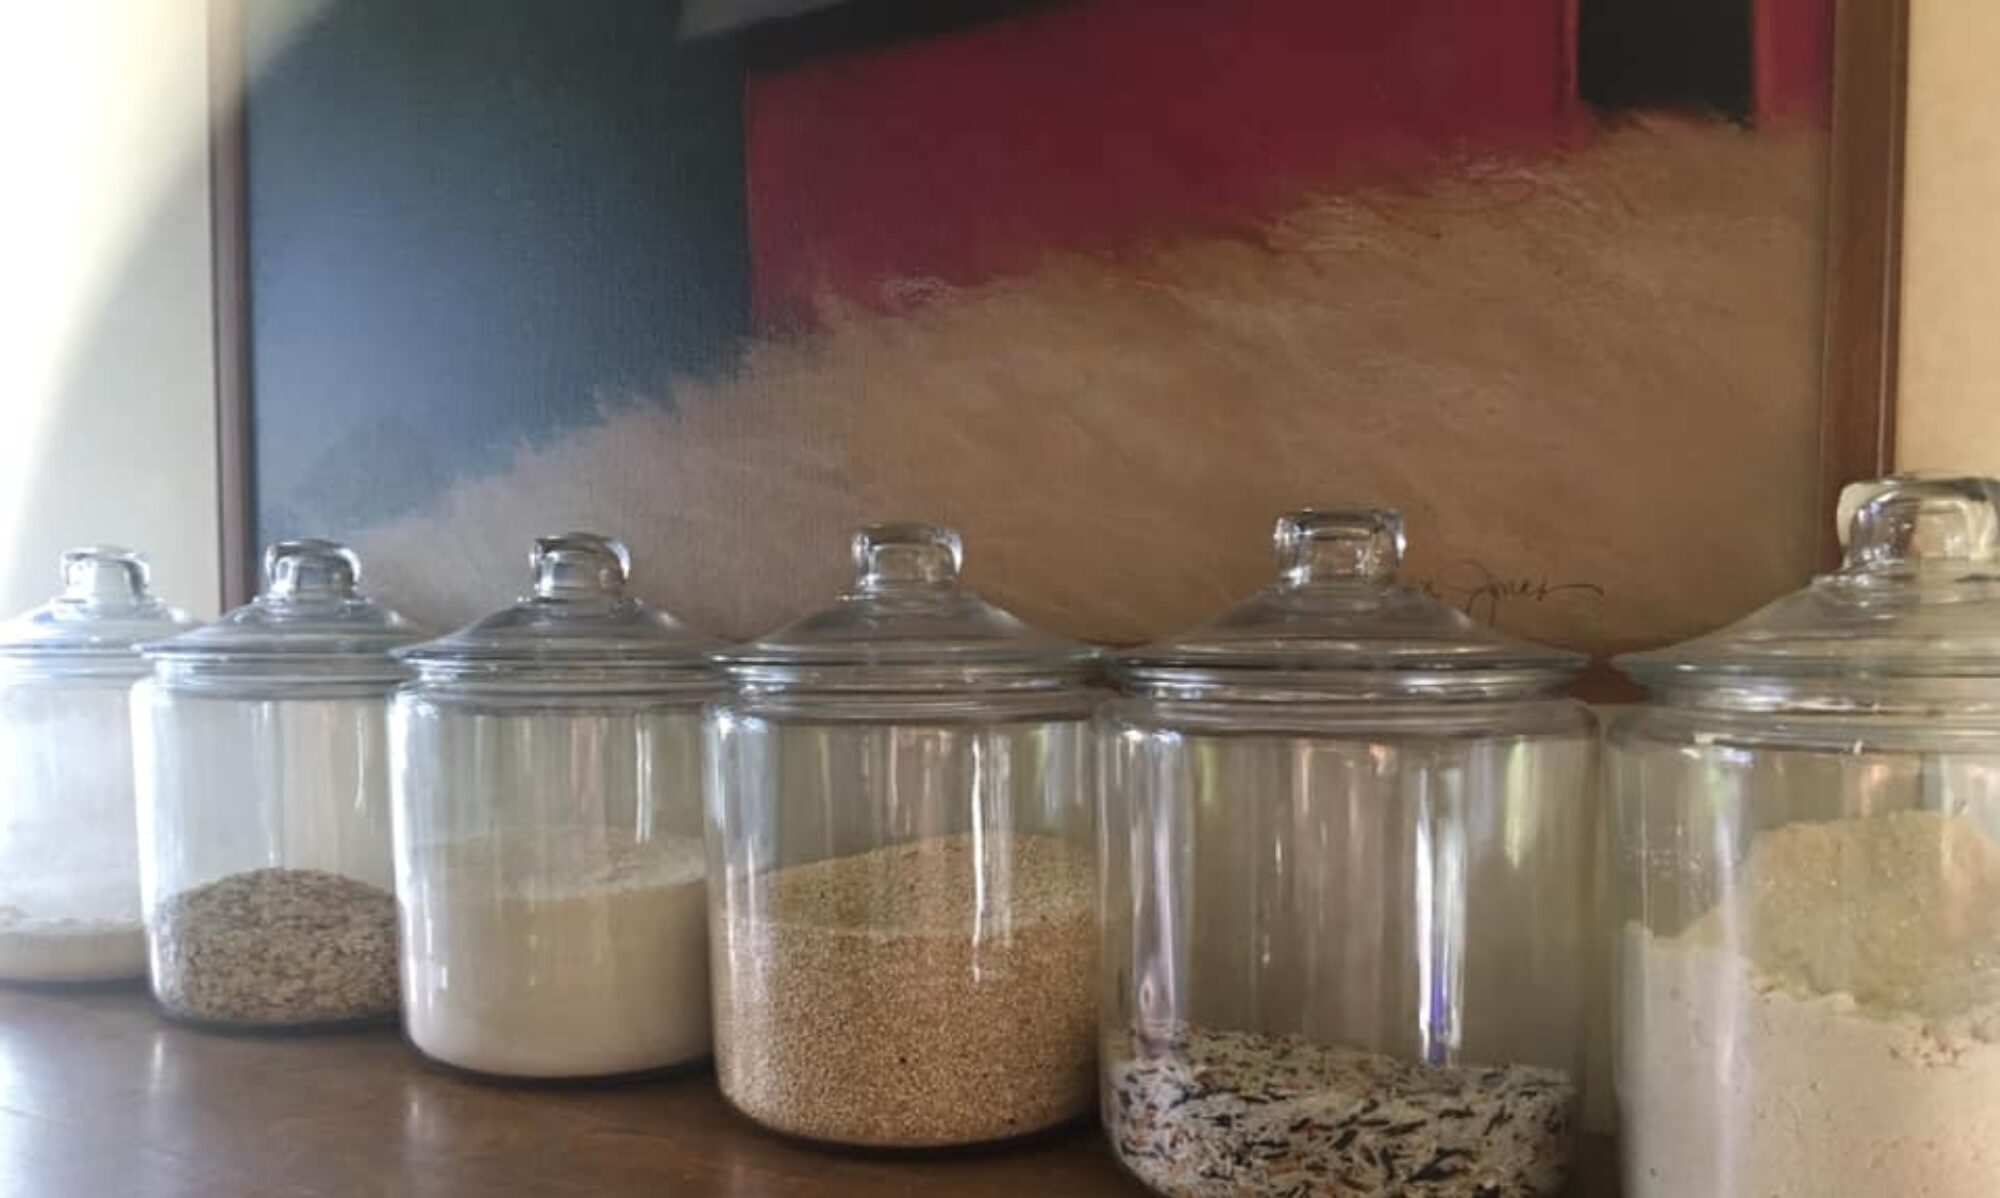
I dipped my fingers into the earth and replaced flower beds with herbs. I bought into a CSA and learned to cook our meals from scratch. We bought a Berkey water filter. I baked bread, fermented krauts and reconnected my spirit with the earth. It felt as though we were in alignment for the first time in many years. And instead of our typical tropical vacation, that following summer we rented out a 100 acre ranch in the Ojai Valley for a couple of weeks where we were surrounded by horses, goats, chickens and cows.


I think that sealed the deal.


I had been longing for the countryside where I grew up, and Tony was able to feel the peace and fulfillment of a working farm. Although it wasn’t easy, the slower pace filled us both with hope for a more relaxing future.


Homesteading.


The word that felt foreign and absurd just four years ago, became a motto of sorts. When things unfolded in 2020, I understood the call. Someone or something deep within had given me the gift – implanting a desire I never knew I could have. It’s so hard to explain, however I feel that there are no coincidences. It brought us here to this little slice of heaven in the South.


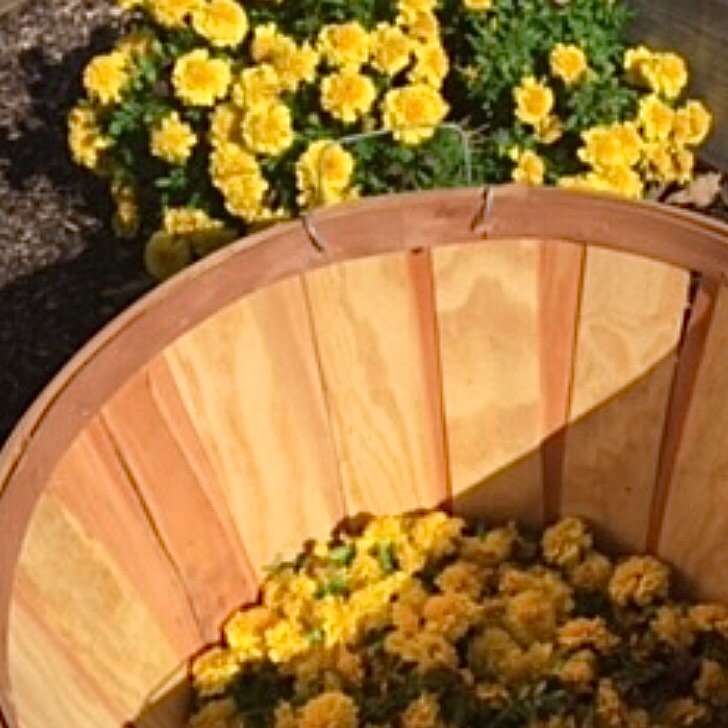
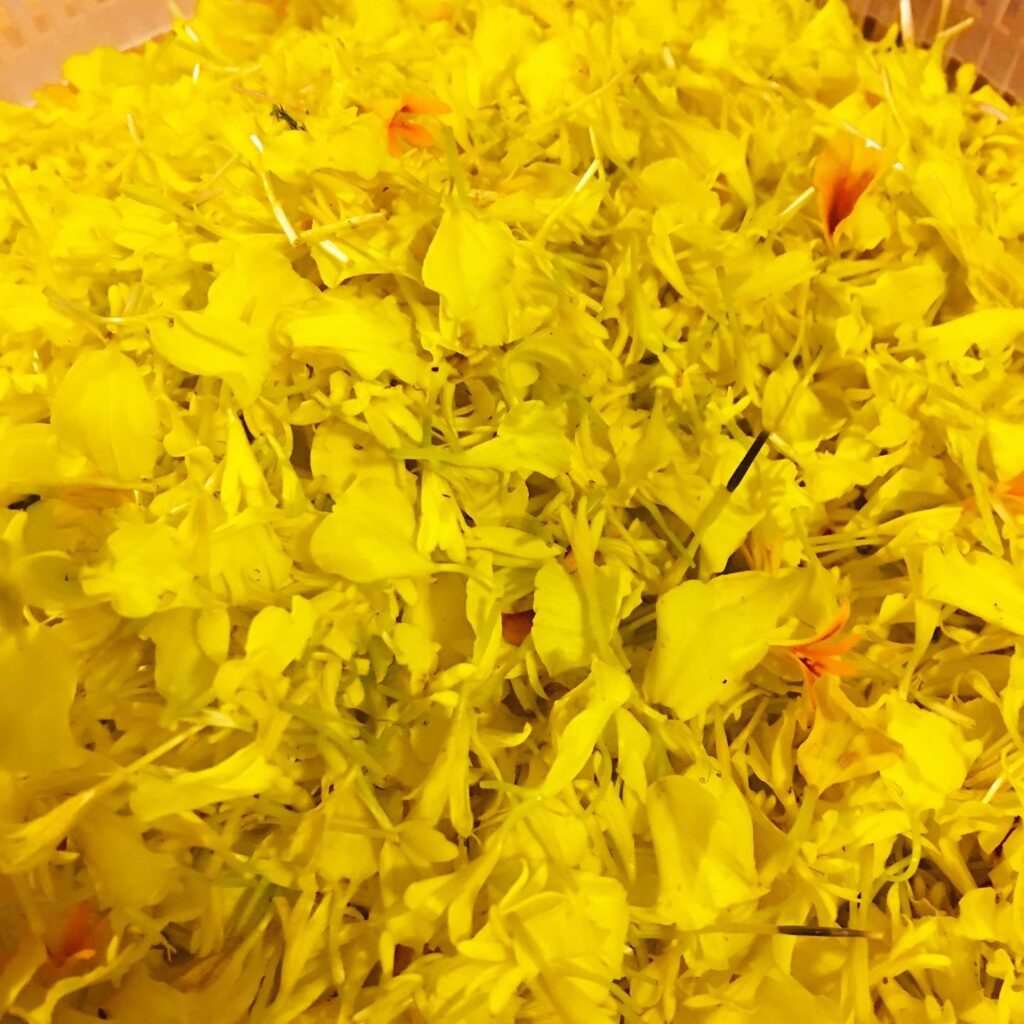
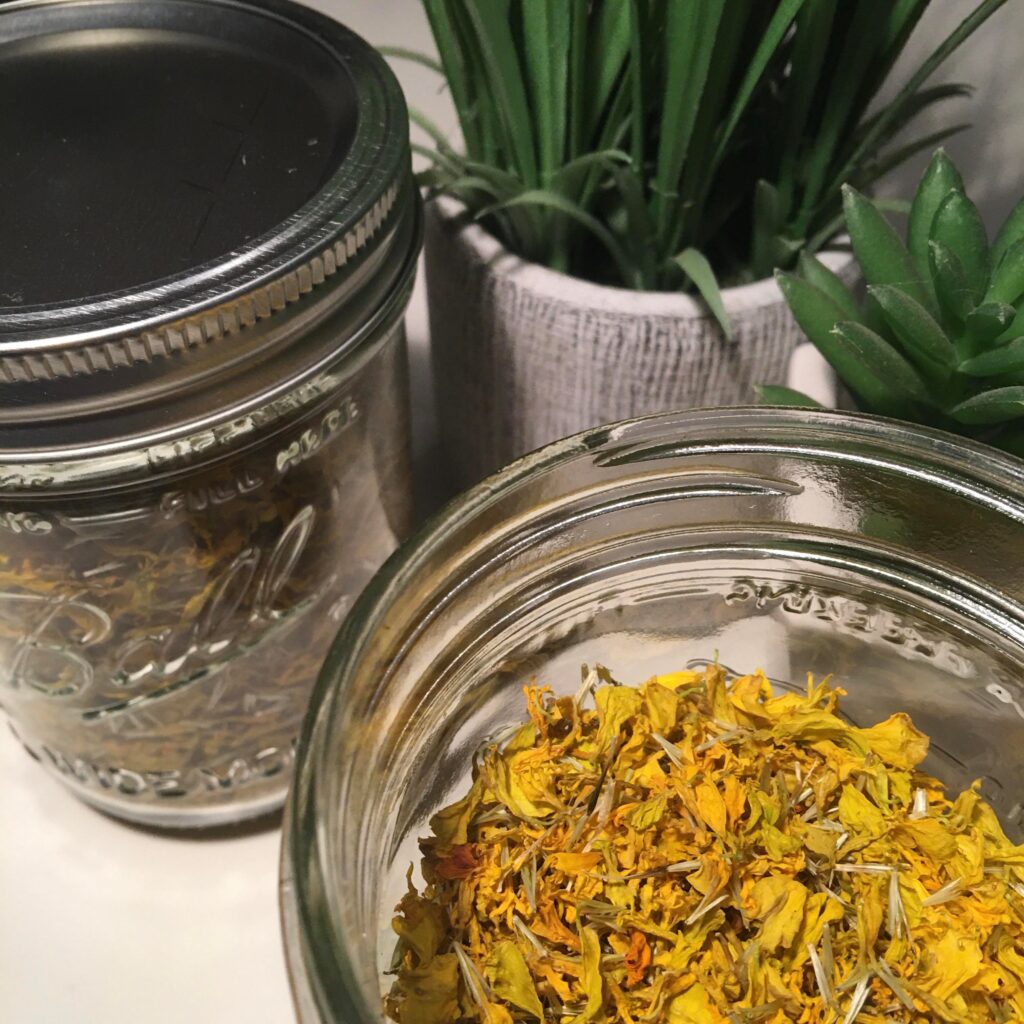
To some, its a calling to go off grid, to hunt, prep and live off the land. To me, it’s about growing whole, organic foods, breathing in the fresh air, witnessing four seasons, drinking clean water, peace & quiet and the freedom to be who we want to be. Without anxiety-filled careers, city traffic, black tie affairs or pharma-pushing doctor appointments.


Homesteading equals Freedom in my eyes.


You can catch more of our slow-living journey and daily LIVE stories on Instagram RIGHT HERE.

The Imperfectly Perfect Sourdough Starter

Let me preface this with this statement; “Any task that I perform for my homestead which may be done imperfectly still blesses our home”.

This recipe is not going to be sharing the precise grams in weight or maintenance plan which you may find in those fancy Blogs or Videos. This is my tried-and-true process of maintaining a healthy and happy ferment since its inception.

Isn’t it ironic that the Starter began to gain popularity once again in recent years? There was a great influx when the pandemic hit, but as I recall there was a lot of chatter in the months before. I started mine around Thanksgiving of 2019 & lovingly named her Dolores. (Did you know that if you name your starter, you may be more likely to keep it going?) I think that philosophy actually helped me.

I kept her going throughout the entire “lockdown” period, through our big move across the country in the Summer of 2020, and she’s still alive & thriving today.

There have been times when I got down to a couple of tablespoons or had to put her dormant in the refrigerator, but it’s very easy to build back up and get it active again.


Here’s my Recipe and Maintenance for my two-year-old Sourdough Starter

Tools Needed:

  • Any jar with a lid, such as a Mason Jar
  • Breathable cover (like cheesecloth)
  • Glass Measuring Cup
  • Wooden Spoon

Instructions:

1. To get started, in the evening fill your jar with 1/3 cup of flour and 1/3 cup of clean, warm, filtered water. You can use any flour for this process EXCEPT for “bleached” flour – I tried it & it didn’t turn out well. 

2. Stir well, making sure all dry pockets are blended.

3. When you wake up in the morning, it should have multiplied. Remove 1/3 of your Starter and either discard it, or save it in a container in your refrigerator.

4. Now, add back 1/3 cup of flour & and mix it into your remaining Starter + JUST enough luke-warm water to incorporate into a thick pancake consistency  (this has become my secret weapon to a thriving ferment).

5. Cover and store in a warm place – around 70-80 degrees is ideal. You can keep it near a heater, fireplace (not too close that it bakes), a sunny window sill or your stove. When I am baking a lot, I wrap mine in a towel and leave it on the stovetop.

6. If you choose to keep the “discard”, use it up quickly because it can clutter up your refrigerator if you’re not careful. I recommend saving the discard only after it gets established, around day three or so. You can find many amazing recipes for this on YouTube.

7. Repeat this process for 10 days, then you can begin incorporating the Starter in Sourdough recipes. I have also begun to take it out with my hands and knead it just a little bit, so that it gets used to my touch. This has really helped my Wild Yeast to respond very well in my recipes! The important thing to remember is that your Starter needs just enough warmth to create those big beautiful bubbles. After around the 30 day mark, it should be well established with a nice bubbly appearance, feel spongy, glutenous, and smell like delicious Sourdough.

Now that “Dolores” is fully established, I use it and then when I know I won’t be baking for a while, I will feed, seal up tight & store in the refrigerator until I know I need it again (feeding every week or so). This way, I don’t have to start all over with the waiting process to achieve the good ferments again.

Thank you for visiting our Blog – Please let us know how your Starter is going by tagging us on Instagram. We would love to keep in touch!

Download this Recipe HERE


In Joy – Renee Weatherford – Magnolia Hill Homestead

Homemade Products From Your Marigold Flowers

Have you ever heard about the wonderful benefits that can be extracted from Marigold buds? I have used Calendula Oil before, but I had no idea that there were so many other uses for these bright flowers.


We planted several Marigolds throughout our Gardens last Spring after hearing about it’s benefits of bringing in pollinators & keeping pests at bay. And it wasn’t until early Fall that I began researching different uses for the abundance of blooms we had.


Here is how I dried & preserved my Harvest, and 7 different ideas you can use to incorporate these pretty petals into your home…


Separating

You want to either snap off or cut the green stem from the flower, separating the blooms from the seeds. There are some benefits to using the seeds, but you may want to start with a clean cut. Discard the stems and place blooms in a bowl.

Drying

There are 3 ways I’ve dried these, and they all came out perfectly dehydrated:

Dehydrator Machine – This takes the longest, yet is the easiest method for me. I have a five-tray dehydrator and set them at 100 degrees for 8-10 hours. Place in one layer on trays – do not over-crowd, but depending on how much you have, you may want to fill each tray completely. After a few hours, they will shrink down considerably & you can space them out for better ventilation. (CLICK HERE  to see the Machine I always use on Instagram).

Sun Dried – This method is excellent if you have a dry heat with no wind. You have to be very careful to keep moisture & humidity out the process. This can take just a few hours in the right conditions.

Oven – If you have a dehydrator setting on your oven, this is a good option. You just have to check on them often to ensure they are dehydrating and not cooking. It’s especially important to have a tray that allows good ventilation (I tried a French bread rack with small holes & it worked well). This took about 8 hours. (You can also hang to dry, but this can take up to a month).

Storing

Once dry, place in a Mason Jar or air tight container and add a Silica Packet if you have one. These can be stored on the shelf for about a year. You can grind it down into a powder form, but I like to keep my herbs whole so that I can use them for different products, like teas or soaps.

Personal Uses

Your Marigolds can be used for so many things, from beauty products to additions in the kitchen. These are just a few things I use them for. As always, please do your own research on these suggestions and consult with your Medical Professional before attempting to ingest anything that you have not taken before.

Loose-leaf Teas

Top your Salads or homemade Vinaigrette (dried or fresh)

Add color to your Quiche, Stirfry or Soups

Mix into homemade Artesian Bread

Handmade Soaps, Salves & Lotions

Tinctures

Essential Oil Extract: Wound Care, Sunscreen, Acne, Dry Skin, Diaper Rash, Cracked Feet, Cuticles

So there you have it! Do you have these vibrant flowers growing around your home? What would you like to make from them? Tag us on Instagram & let us know!


Renee Weatherford – Magnolia Hill Homestead