3 Creative Ways To Use Up Zucchini and Summer Squash

It’s that time of year that gardeners everywhere are loaded down with all of that Summer Bounty, so diligently cultivated weeks ago. If you’re feeling overwhelmed by the volume of Zucchini, Squash and Cucumbers like we are, here are 3 creative ways we’re cooking them up.


3 Creative Ways To Use Up Zucchini and Summer Squash

We love to grill outside during the Summer, so we’ve been piling  those veggies onto Shish Kabobs! Layering up Onion, Bell Pepper, Mushroom, Cherry Tomato, Pineapple and chunky Zucchini to make a delicious Hawaiian style meal. Paint on some tangy Teriyaki sauce, add to a bed of rice and it’s an instant crowd pleaser!


3 Creative Ways To Use Up Zucchini and Summer Squash

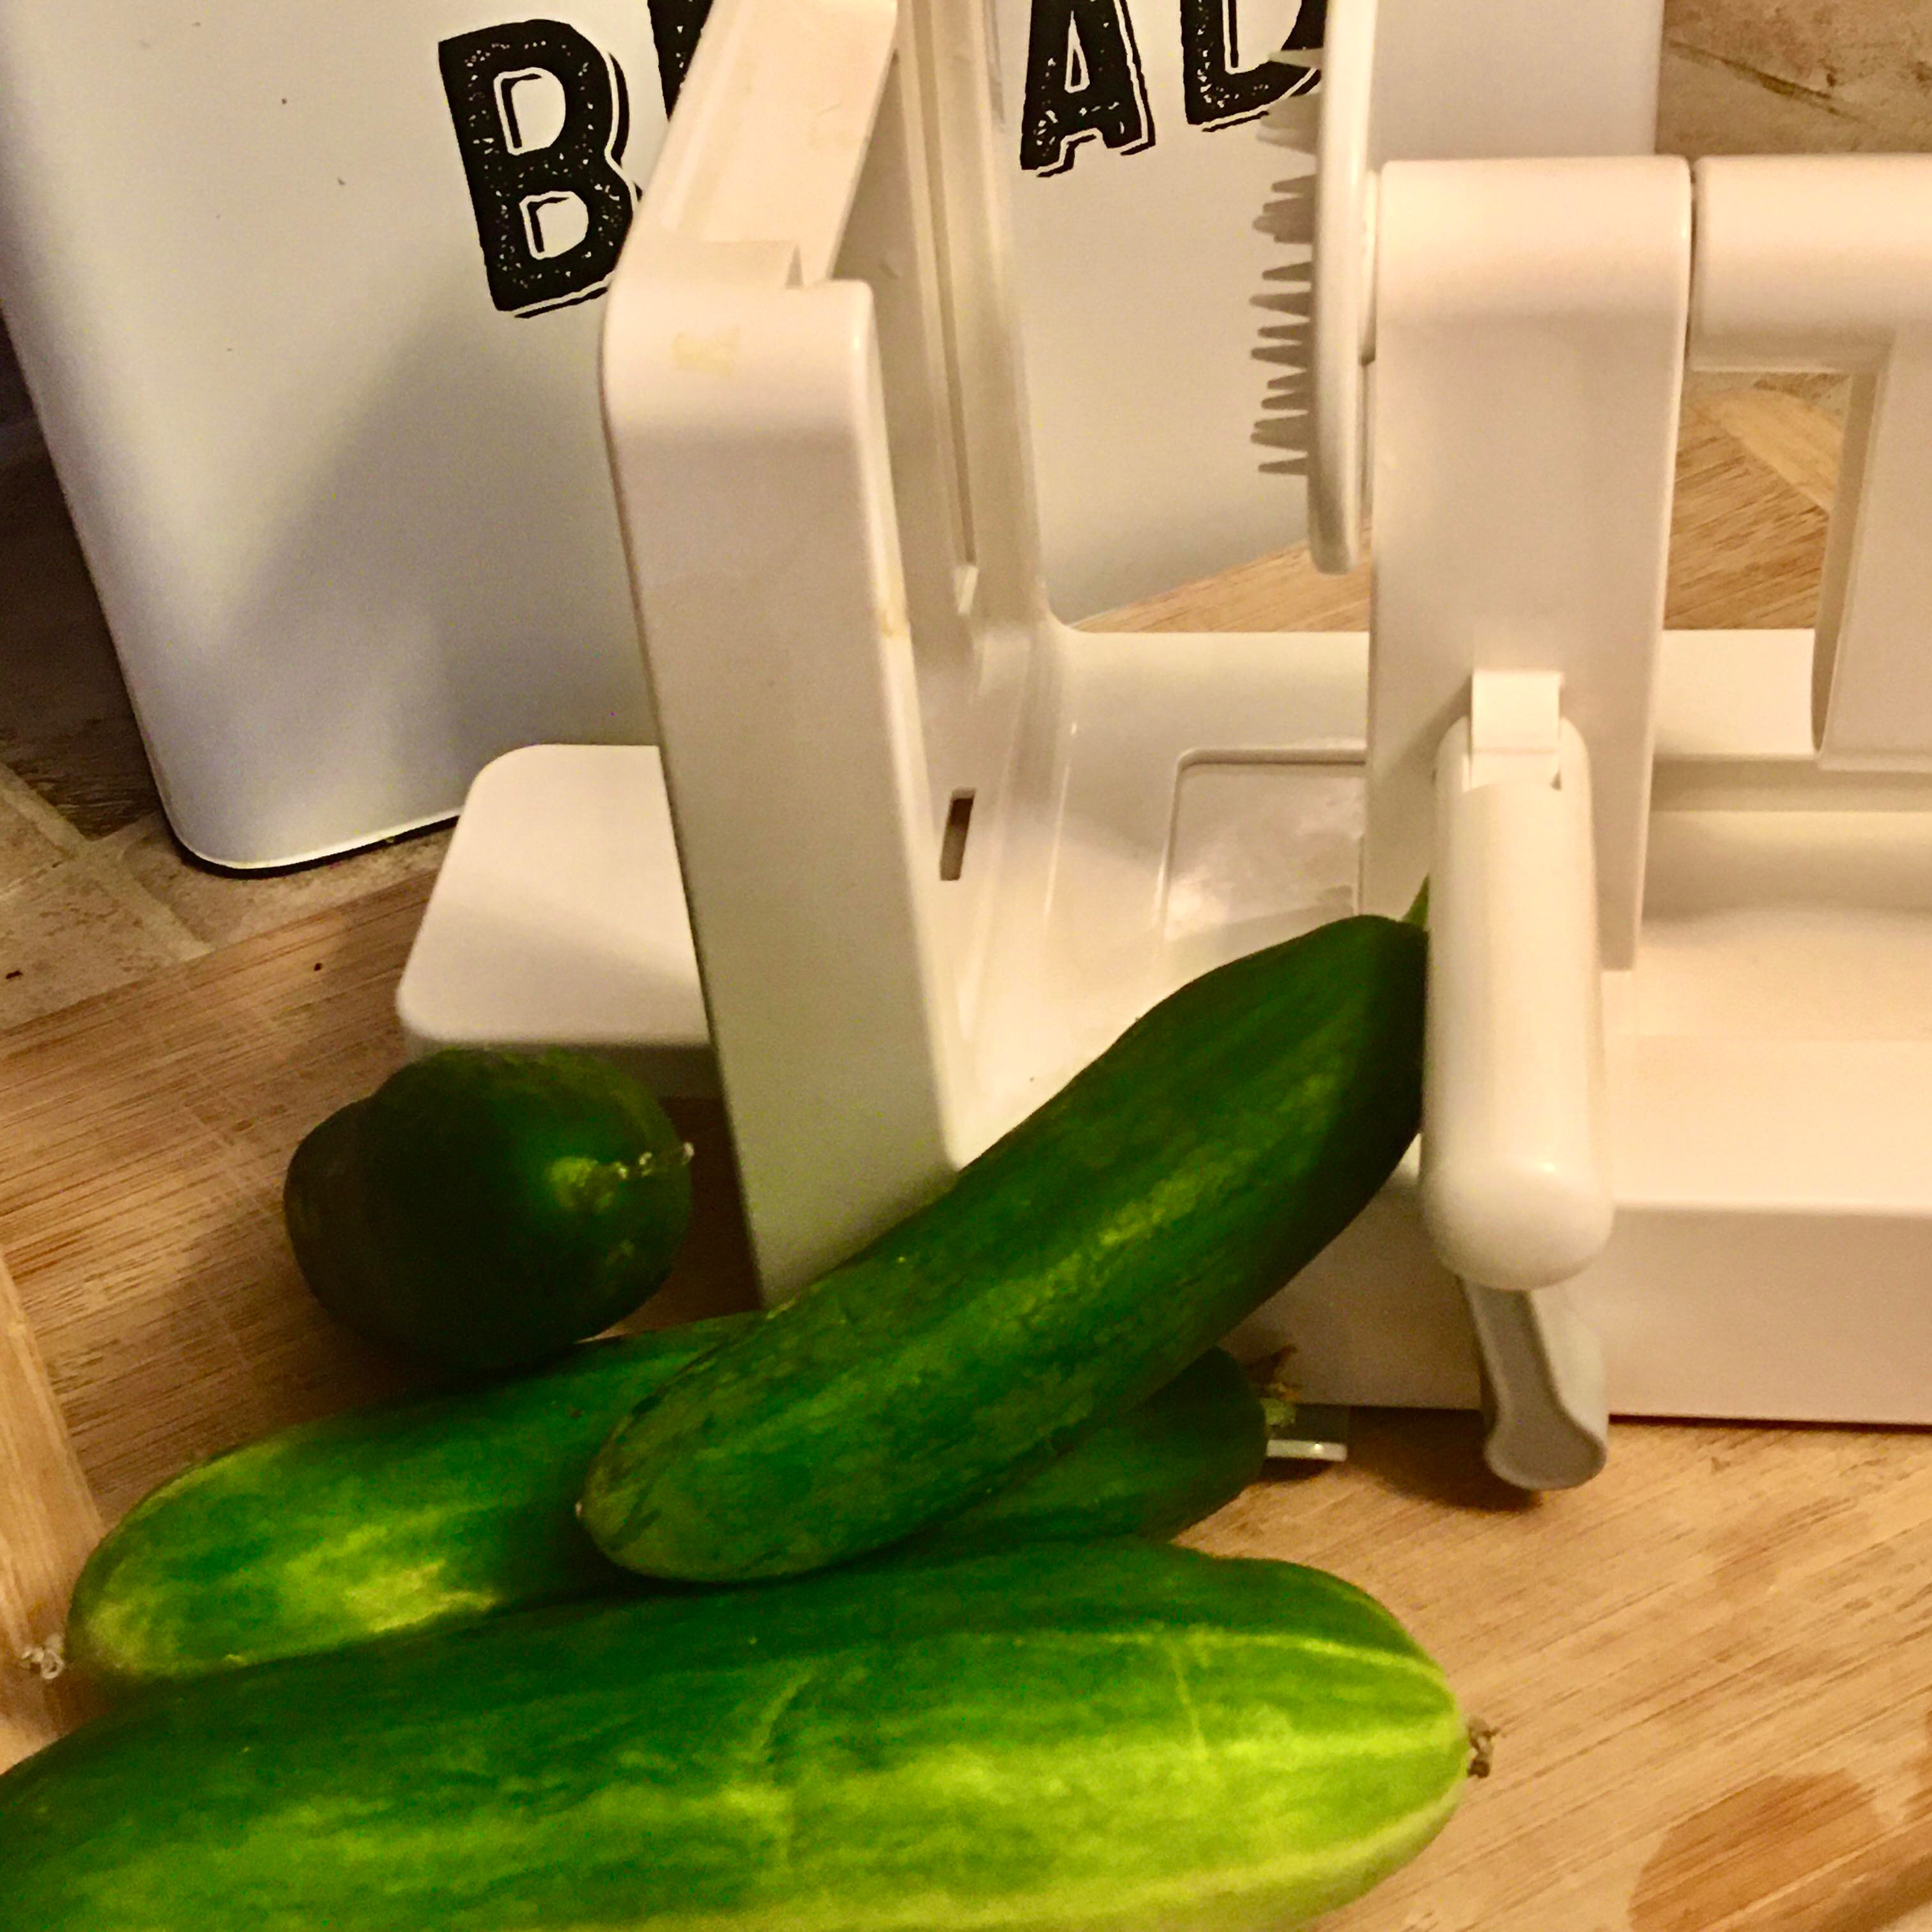
Cucumbers have been coming out of our ears this year, and I can only make so many pickles… This next idea has been so popular at our house, we eat it almost every single day for lunch!

I use the FLAT BLADE of my Spiralizer to create this fun and ultra-thin string of cucumber slices. Mixed with sliced onion, black olives and topped with fresh basil and dill. I finish it off with a splash of apple cider vinegar, olive oil, salt & pepper. – Yum!


3 Creative Ways To Use Up Zucchini and Summer Squash

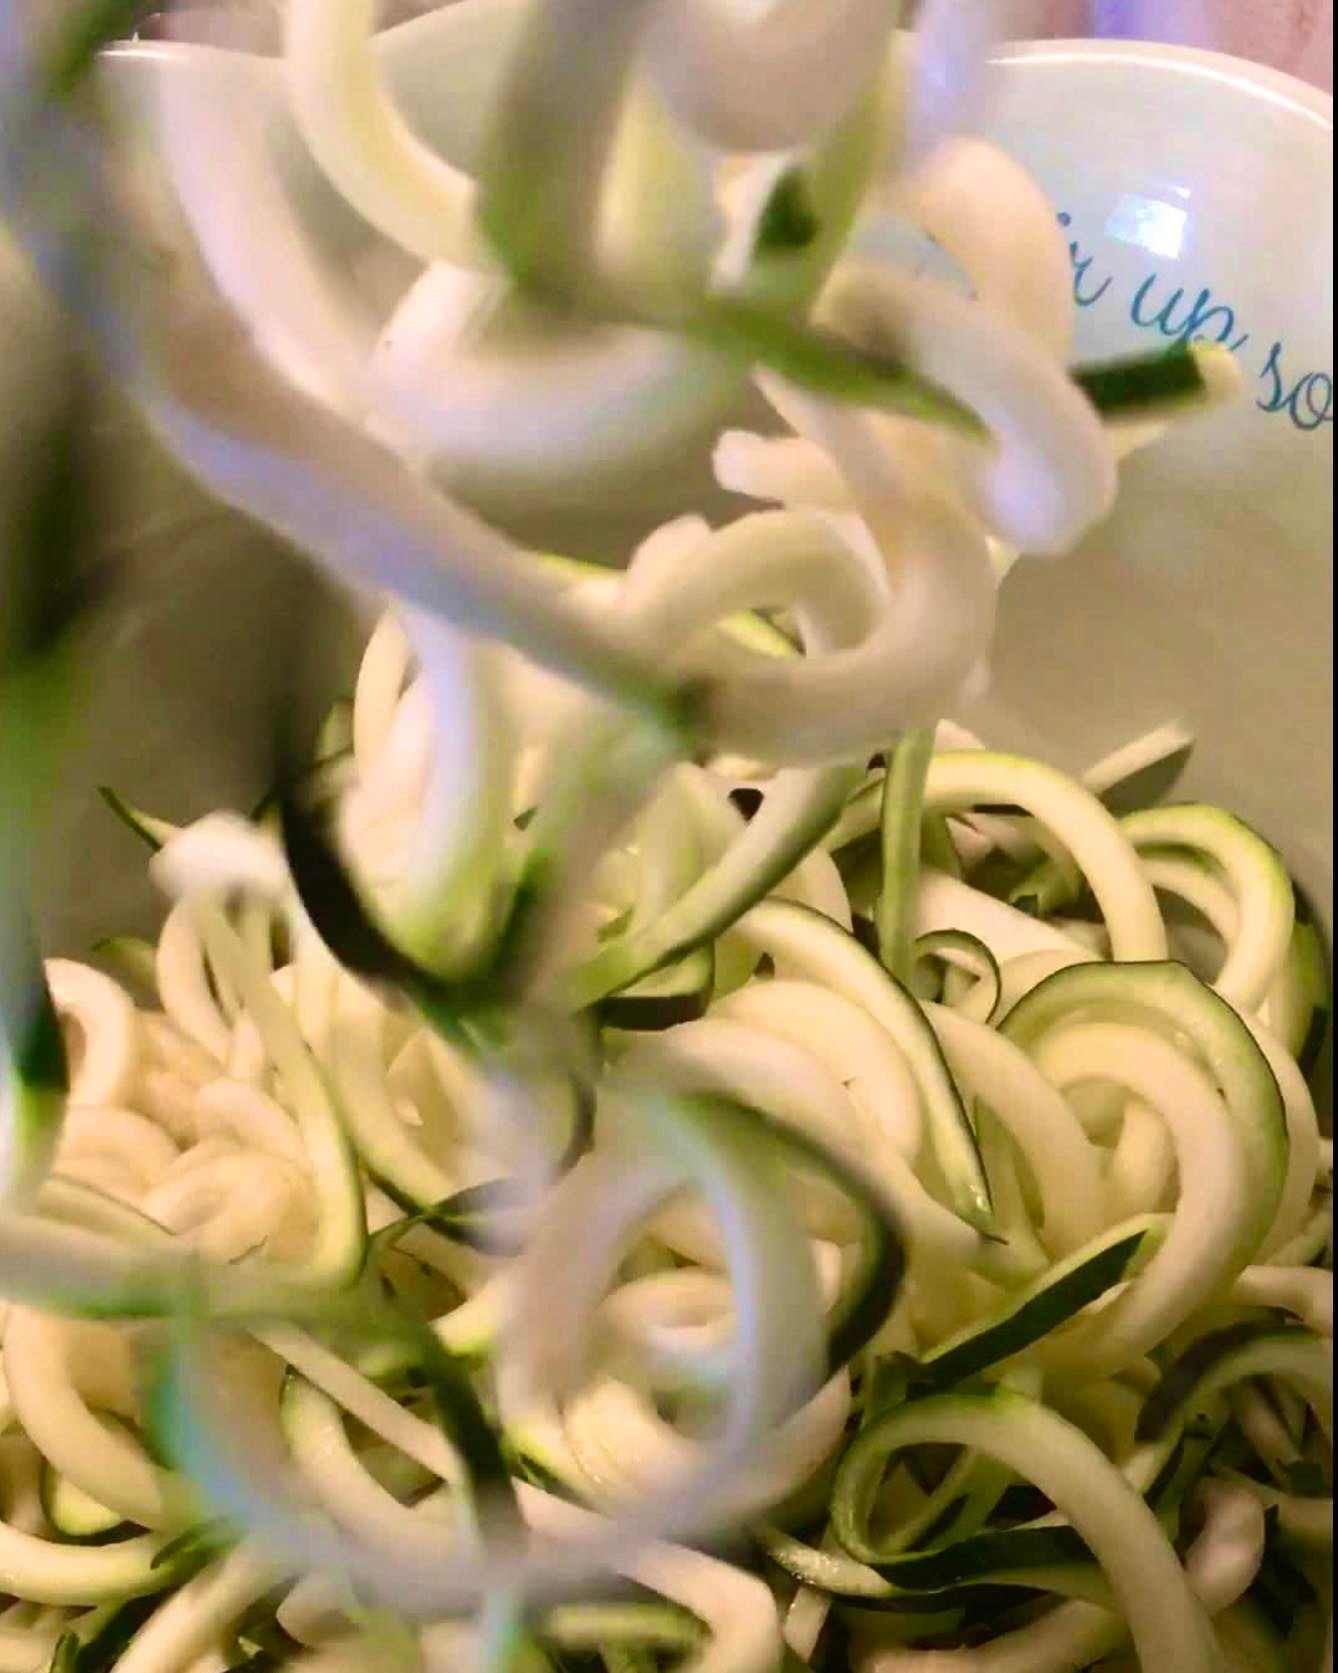
The biggest win has been creating these fun tendrils of Squash,  sautéed in rich butter with garlic and onions. Adding in a handful of cooked pasta (reserve 1/4 cup of the water to add to pan), halved cherry tomatoes, basil and lemon zest. Topped with freshly grated parmesan cheese, THIS is a weekly staple at our house.

The Spiralizer has been an asset to the Homestead, as we’ve used it for so many different meals, from squash to fruit to many other tuber vegetables. As a plant-based family, we need as many tools as we can find to be creative with our recipes.

We have gotten such an overwhelming response to our Instagram Stories every time I post these meals, I thought this would be a good time to share on the Blog.

I hope you try these out & please let us know which one is your favorite. Bon Appetit!

Homemade Fly Repellent Recipe

Homemade Fly Repellent Recipe

Now that we’ve added goats to our little Farm Sanctuary, I needed to create a Homemade Fly Repellent Recipe, pronto! We’re seeing more pests, hence the need for a safe & effective deterrent. I refuse to use toxic chemicals around our plants and livestock, so I scoured the internet in search of a safer, alternative to bug spray.

I alter everyday household products in order to make them organic and non-toxic, so here’s my version…


TOOLS

First of all, find a good MISTING Spray Bottle that can hold at least a cup so that you only have to make it occasionally. THIS is a good one that mists well which I found on Amazon. I also use one for a Homemade Room Freshener recipe I’ll share later.

You’ll also want a small colander to pour in your liquids without creating a mess.

INGREDIENTS

  • Fill your container up half-way with White Vinegar
  • 2 tablespoons of Olive Oil
  • 1 teaspoon Liquid Soap (We use Doctor Bronner’s Peppermint Soap)
  • 10 drops each of Eucalyptus & Peppermint Essential Oil (you can substitute with your choice of EO’s but I found this combination to be pungent enough to keep the bugs away)
  • If you have it, add fresh Mint Leaves or Lemon Balm Leaves
  • Fill the rest of the bottle with Filtered Water


TO USE

Shake well before using. I spray about 6 pumps on Hind quarters and around Ears. I also spray down Chicken Nesting Boxes and all Sleeping Areas before bed.


What I’ve found is that it keeps the flies, mosquitoes and gnats away for a couple of hours. It’s all natural, smells good, affordable and can be used on animals and people. The type of soap we use is a trusted brand that can be safely used for body wash, hair, hands, dishes, etc. Safe around animals & people, also a good alternative to heavily scented soaps.

Watch our Instagram Stories today (will be saved to highlights) to see this in use around the Homestead!

Why Homestead?

Why Homestead

When I first began talking about “Homesteading” I received many a side-eye. It’s a word that has been long forgotten and, in my circles, likely produced thoughts of old-world struggle. I didn’t quite grasp the concept when I had first witnessed its trend a few years ago after reading of families who escaped the corporate world to live in debt-free tiny homes, or ladies on Instagram hunting down Sarah Ban Breathnach’s book “Simple Abundance”. However, there was something gripping me as well, I can’t quite explain where it came from. Perhaps it was the call from my ancestors to slow down and reconnect with my spirit. I read blogs about crating Hygge, Urban Farming and Cottagecore, so I tried dipping my toes in and see how it felt to create instead of consume.


I dipped my fingers into the earth and replaced flower beds with herbs. I bought into a CSA and learned to cook our meals from scratch. We bought a Berkey water filter. I baked bread, fermented krauts and reconnected my spirit with the earth. It felt as though we were in alignment for the first time in many years. And instead of our typical tropical vacation, that following summer we rented out a 100 acre ranch in the Ojai Valley for a couple of weeks where we were surrounded by horses, goats, chickens and cows.


I think that sealed the deal.


I had been longing for the countryside where I grew up, and Tony was able to feel the peace and fulfillment of a working farm. Although it wasn’t easy, the slower pace filled us both with hope for a more relaxing future.


Homesteading.


The word that felt foreign and absurd just four years ago, became a motto of sorts. When things unfolded in 2020, I understood the call. Someone or something deep within had given me the gift – implanting a desire I never knew I could have. It’s so hard to explain, however I feel that there are no coincidences. It brought us here to this little slice of heaven in the South.


To some, its a calling to go off grid, to hunt, prep and live off the land. To me, it’s about growing whole, organic foods, breathing in the fresh air, witnessing four seasons, drinking clean water, peace & quiet and the freedom to be who we want to be. Without anxiety-filled careers, city traffic, black tie affairs or pharma-pushing doctor appointments.


Homesteading equals Freedom in my eyes.


You can catch more of our slow-living journey and daily LIVE stories on Instagram RIGHT HERE.

The Imperfectly Perfect Sourdough Starter

Let me preface this with this statement; “Any task that I perform for my homestead which may be done imperfectly still blesses our home”.

This recipe is not going to be sharing the precise grams in weight or maintenance plan which you may find in those fancy Blogs or Videos. This is my tried-and-true process of maintaining a healthy and happy ferment since its inception.

Isn’t it ironic that the Starter began to gain popularity once again in recent years? There was a great influx when the pandemic hit, but as I recall there was a lot of chatter in the months before. I started mine around Thanksgiving of 2019 & lovingly named her Dolores. (Did you know that if you name your starter, you may be more likely to keep it going?) I think that philosophy actually helped me.

I kept her going throughout the entire “lockdown” period, through our big move across the country in the Summer of 2020, and she’s still alive & thriving today.

There have been times when I got down to a couple of tablespoons or had to put her dormant in the refrigerator, but it’s very easy to build back up and get it active again.


Here’s my Recipe and Maintenance for my two-year-old Sourdough Starter

Tools Needed:

  • Any jar with a lid, such as a Mason Jar
  • Breathable cover (like cheesecloth)
  • Glass Measuring Cup
  • Wooden Spoon

Instructions:

1. To get started, in the evening fill your jar with 1/3 cup of flour and 1/3 cup of clean, warm, filtered water. You can use any flour for this process EXCEPT for “bleached” flour – I tried it & it didn’t turn out well. 

2. Stir well, making sure all dry pockets are blended.

3. When you wake up in the morning, it should have multiplied. Remove 1/3 of your Starter and either discard it, or save it in a container in your refrigerator.

4. Now, add back 1/3 cup of flour & and mix it into your remaining Starter + JUST enough luke-warm water to incorporate into a thick pancake consistency  (this has become my secret weapon to a thriving ferment).

5. Cover and store in a warm place – around 70-80 degrees is ideal. You can keep it near a heater, fireplace (not too close that it bakes), a sunny window sill or your stove. When I am baking a lot, I wrap mine in a towel and leave it on the stovetop.

6. If you choose to keep the “discard”, use it up quickly because it can clutter up your refrigerator if you’re not careful. I recommend saving the discard only after it gets established, around day three or so. You can find many amazing recipes for this on YouTube.

7. Repeat this process for 10 days, then you can begin incorporating the Starter in Sourdough recipes. I have also begun to take it out with my hands and knead it just a little bit, so that it gets used to my touch. This has really helped my Wild Yeast to respond very well in my recipes! The important thing to remember is that your Starter needs just enough warmth to create those big beautiful bubbles. After around the 30 day mark, it should be well established with a nice bubbly appearance, feel spongy, glutenous, and smell like delicious Sourdough.

Now that “Dolores” is fully established, I use it and then when I know I won’t be baking for a while, I will feed, seal up tight & store in the refrigerator until I know I need it again (feeding every week or so). This way, I don’t have to start all over with the waiting process to achieve the good ferments again.

Thank you for visiting our Blog – Please let us know how your Starter is going by tagging us on Instagram. We would love to keep in touch!

Download this Recipe HERE


In Joy – Renee Weatherford – Magnolia Hill Homestead