We have had an Apple crisis over here, and maybe you have too. Here’s what we’re doing about it…
It’s been a rough year for many of us, especially in the garden. Not only did we have a horrible start with seeds and weather, we were also hit very badly by pests – especially out in the orchard. Organic Farming means that we are willing to put up with worms and imperfections, however this year we had more than our fair share of invaders.
Making the most out of this situation, I’ve decided to use what I could salvage for an abundance of one of my absolute FAVORITE products, and that is Apple Cider Vinegar with The Mother.
There are so many uses for ACV. In addition to the good gut health benefits of this ferment, you can use it for animal probiotics, salad dressings, hair wash, pest control, fermenting & preserving, foot soak, homemade cleaners, and so much more!
It is SO easy to make, and you can make this with home grown, store bought or even bits and pieces of the apple…
SUPPLIES
- Whole Organic Apples, Cores or Scraps; Please do not use apples that are not Organic – they are FULL of pesticides.
- Pure Cane Sugar.
- Sterilized, clean Glass Jar. Any type or size is fine – I use a 1/2 gallon Mason Jar, but you can re-use a pickle jar or anything you have on hand as long as it’s been sterilized.
- Fermenting Lid, Coffee Filter or Cheesecloth.
- Rubber band or Canning Ring.
- A weight to keep apples submerged under water.
- Marker and/or Label to write date.
INSTRUCTIONS
- Chop your apples and pieces, filling your jar 3/4 full. It is okay to keep cores, stems and seeds intact, but you may desire to remove them – it is entirely up to you.
- Fill with good, filtered water (it’s important not to use tap water, because the chlorine will kill your good yeast). Leave room for 1 extra cup of water.
- In a separate container, add one tablespoon of sugar per cup of water into a 1 cup of water (i.e. 4 cups of water + 4 Tbsp sugar). Stir well so that your sugar dissolves completely.
- Pour in remaining sugar water, making sure to cover your apples at least by 1″.
- With a tight-fitting lid, shake well to incorporate evenly. Make sure they are packed down tight and to get all bubbles out from below.
- Place a weight on top to ensure your fruit does not get exposed to air, which will create mold.
- Cover with a breathable linen or fermenting lid.
- Write the date you made this with a sharpie or dry-erase so that you do not forget! Trust me – you will not remember.
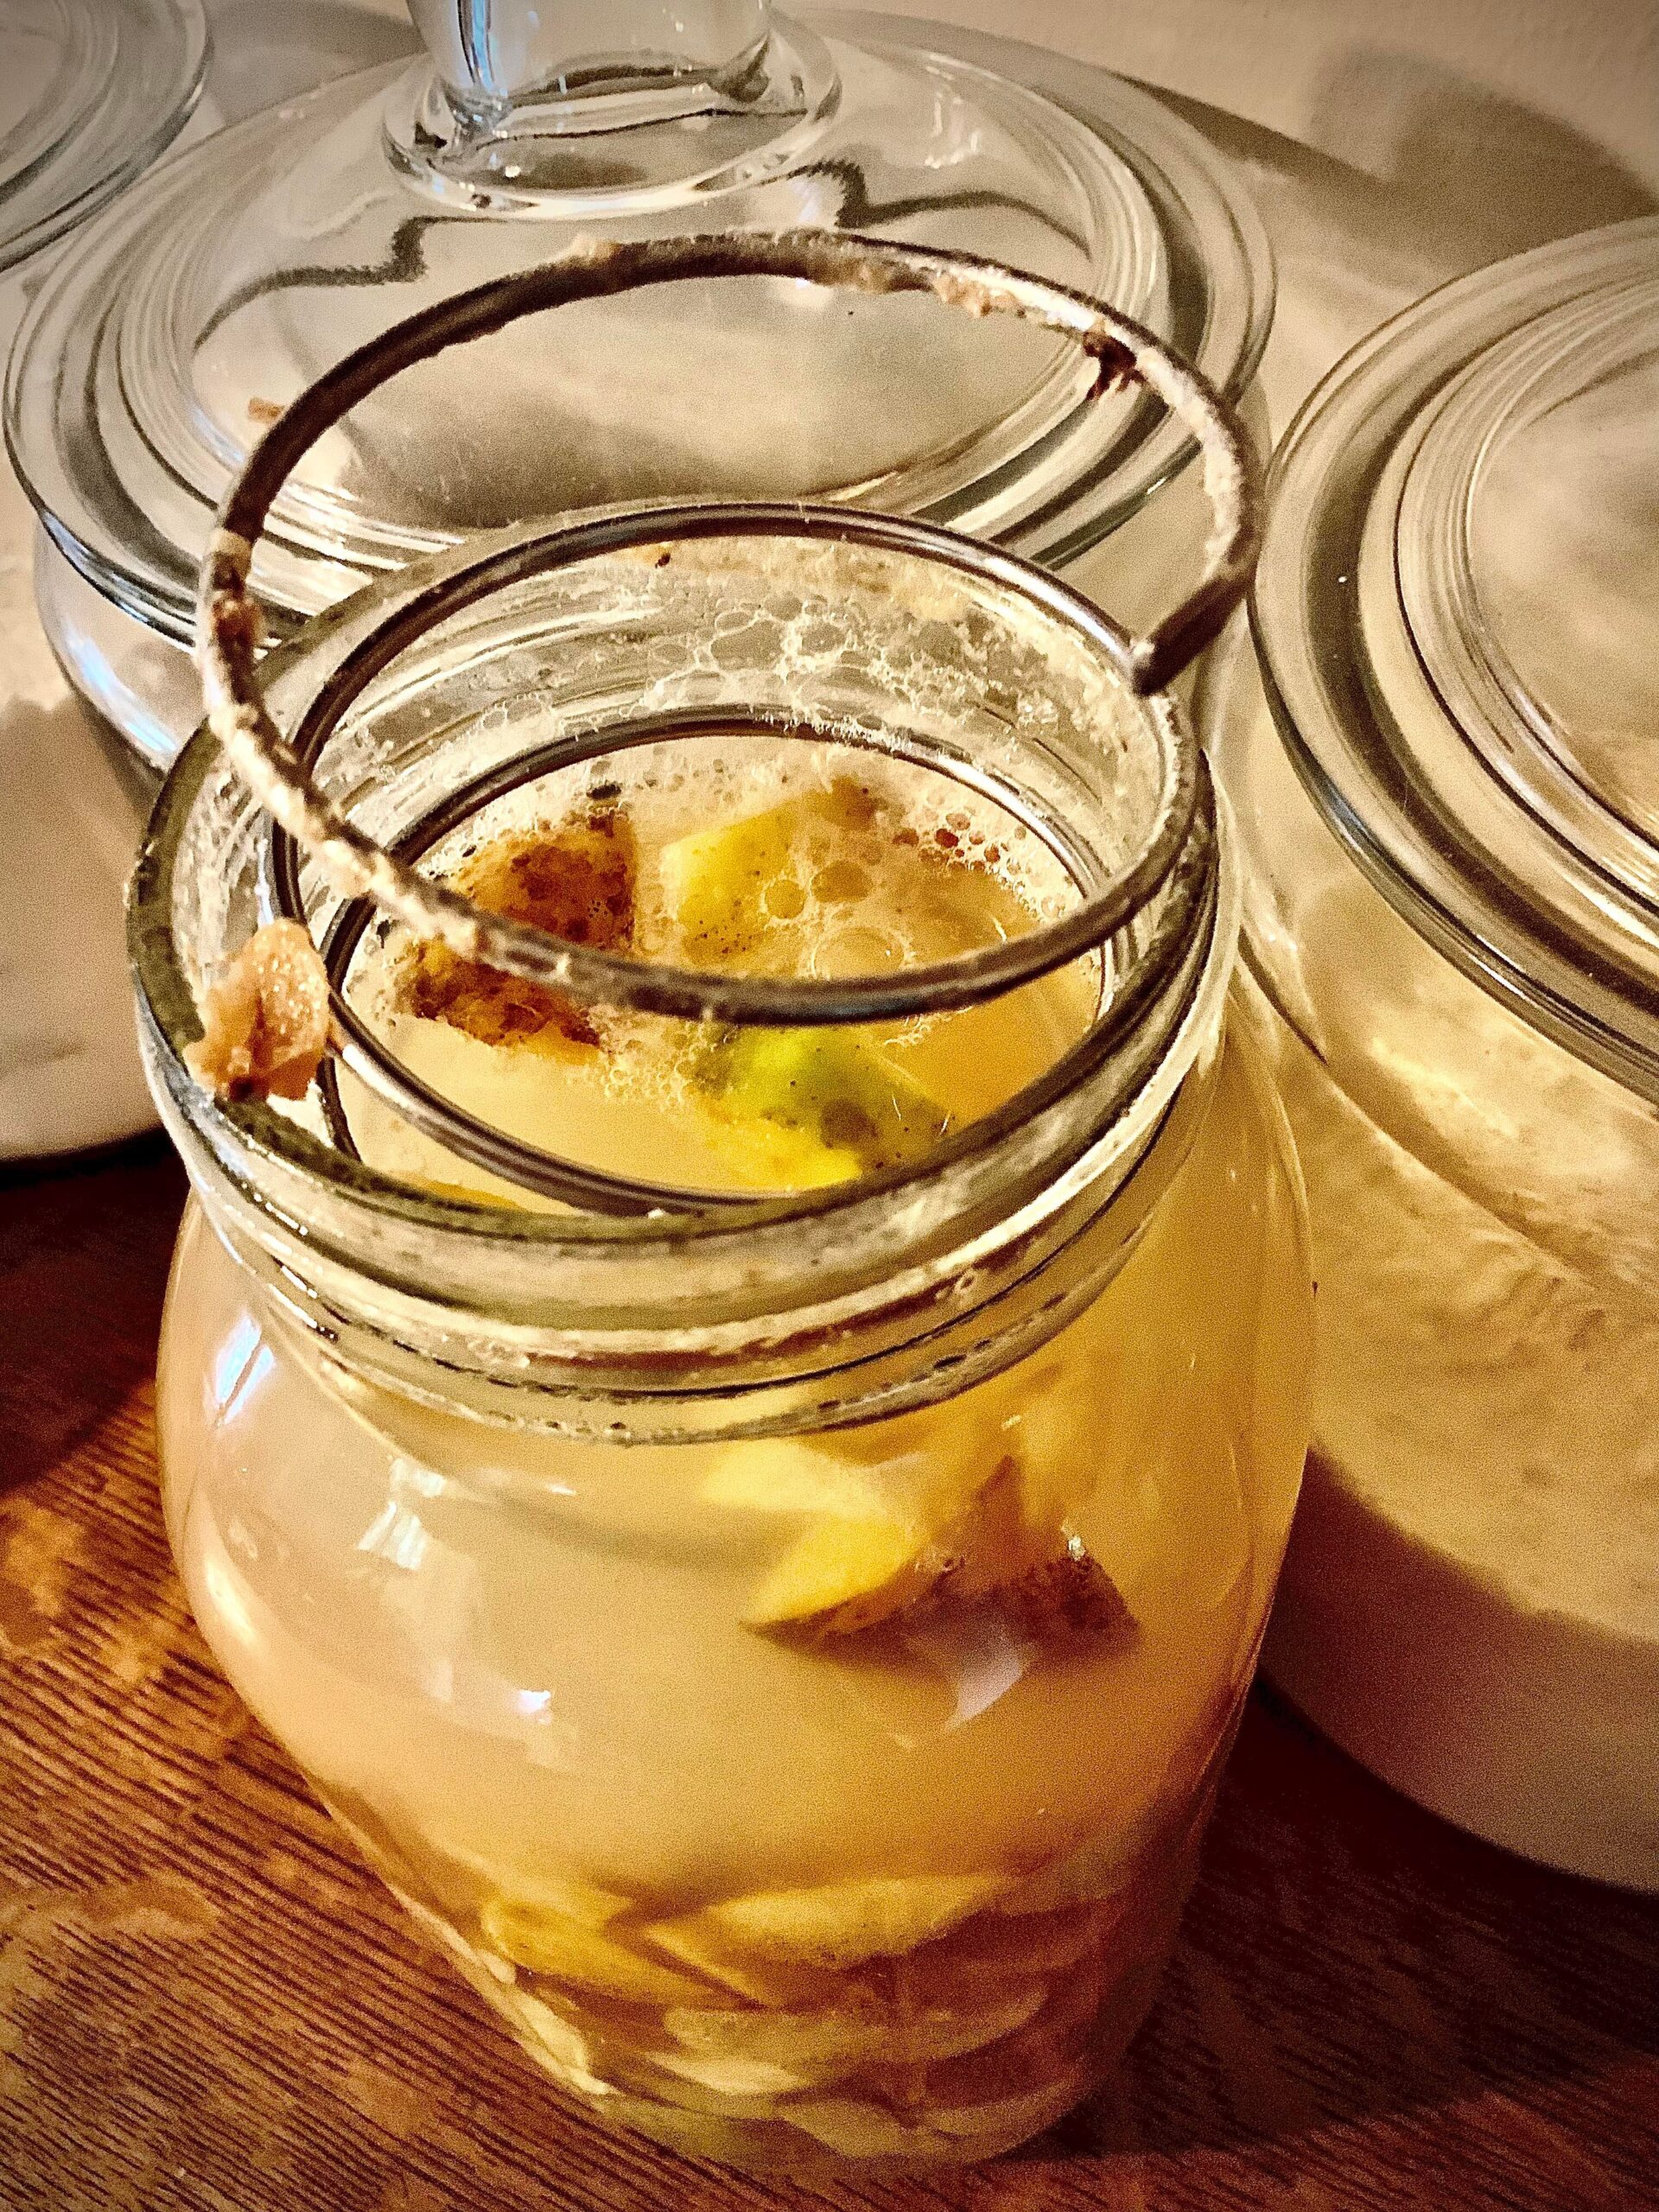
- Place in a cool spot, away from sunlight and where you will remember to check it frequently. It will froth and ferment during this time. You want to keep an eye on it and watch for mold. A white film on top is good, however if it turns a pink color or if you begin to see fuzz, you may have a problem. As long as the water is covering the fruit & your jar is properly sealed, you shouldn’t have to worry.
- Your apples will begin to smell like cider at first, and then a bitter vinegar scent will take over. Leave for 2-3 weeks, depending on how warm your storage is. Typically around 70 degrees is ideal.
- After your desired wait, strain out the fruit and set back in your storage to continue fermenting for another 2-3 weeks. In warmer climates, you may need to strain after just one week, and in cooler temperatures, allow to sit longer. The only way to tell is to give it a taste test every once in a while & adjust your time accordingly.
- After about 6-8weeks, you should have a good Apple Cider Vinegar ready to use. Store in a cool place away from sunlight. At this point, it will develop “The Mother” at the top and you can use this to start another batch which will ferment much faster.
How do you use ACV in your home? Will you be trying out this recipe and making your own? Share your masterpiece with us on Instagram by using the hashtag #MagnoliaHillFarmCreation and we will give you a big shout-out!