Homemade Products From Your Marigold Flowers

Have you ever heard about the wonderful benefits that can be extracted from Marigold buds? I have used Calendula Oil before, but I had no idea that there were so many other uses for these bright flowers.


We planted several Marigolds throughout our Gardens last Spring after hearing about it’s benefits of bringing in pollinators & keeping pests at bay. And it wasn’t until early Fall that I began researching different uses for the abundance of blooms we had.


Here is how I dried & preserved my Harvest, and 7 different ideas you can use to incorporate these pretty petals into your home…
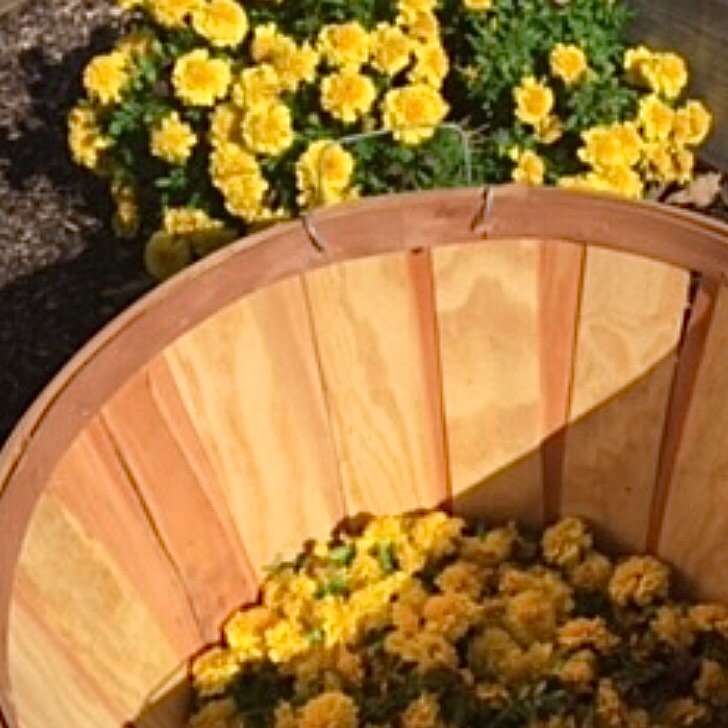
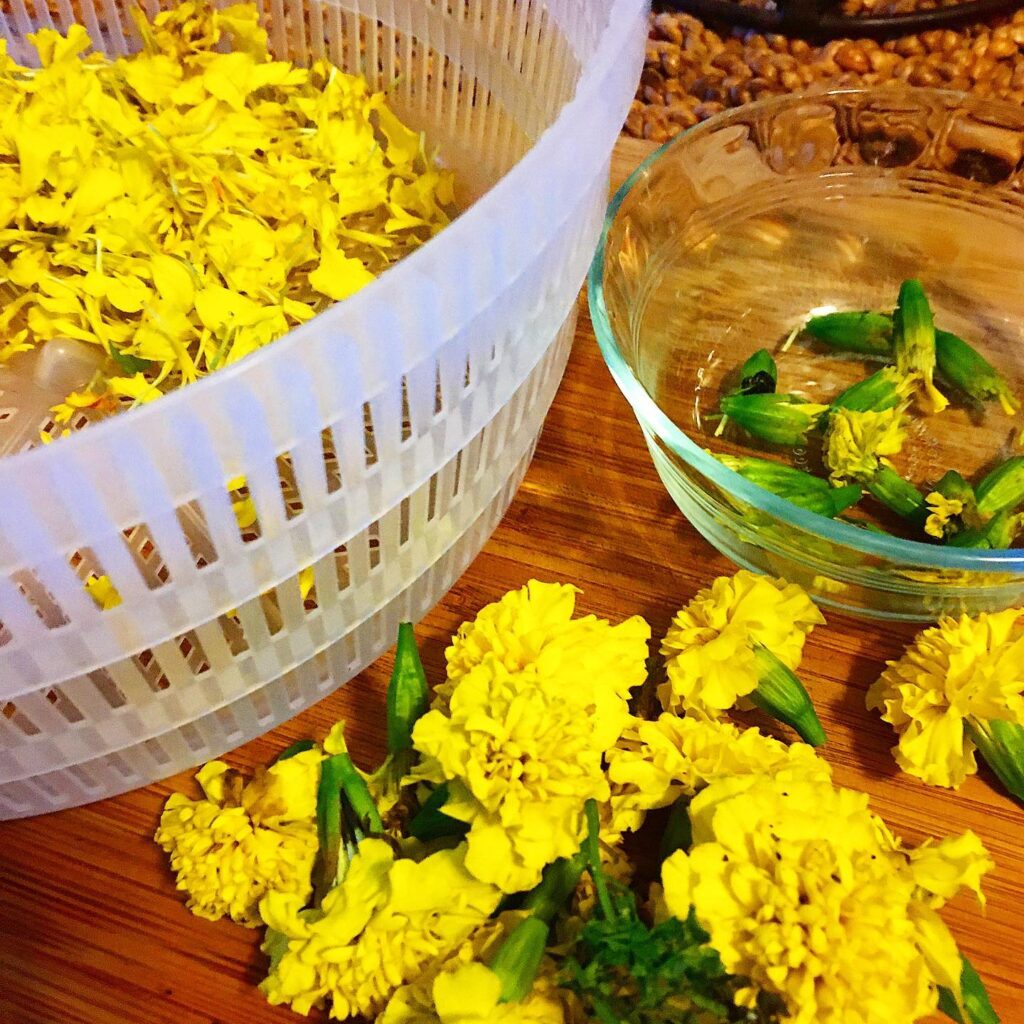
 

Separating

You want to either snap off or cut the green stem from the flower, separating the blooms from the seeds. There are some benefits to using the seeds, but you may want to start with a clean cut. Discard the stems and place blooms in a bowl.
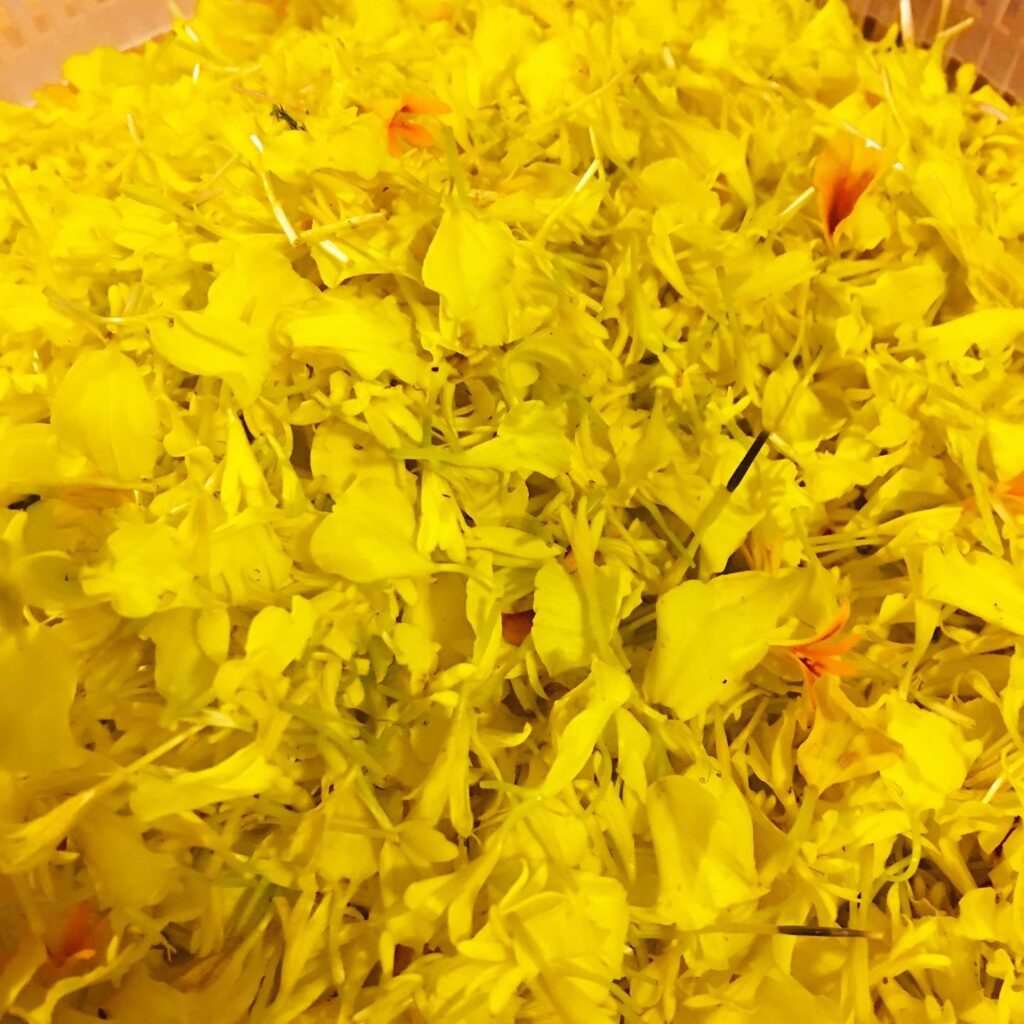
Drying

There are 3 ways I’ve dried these, and they all came out perfectly dehydrated:

Dehydrator Machine – This takes the longest, yet is the easiest method for me. I have a five-tray dehydrator and set them at 100 degrees for 8-10 hours. Place in one layer on trays – do not over-crowd, but depending on how much you have, you may want to fill each tray completely. After a few hours, they will shrink down considerably & you can space them out for better ventilation. (CLICK HERE  to see the Machine I always use on Instagram).

Sun Dried – This method is excellent if you have a dry heat with no wind. You have to be very careful to keep moisture & humidity out the process. This can take just a few hours in the right conditions.

Oven – If you have a dehydrator setting on your oven, this is a good option. You just have to check on them often to ensure they are dehydrating and not cooking. It’s especially important to have a tray that allows good ventilation (I tried a French bread rack with small holes & it worked well). This took about 8 hours. (You can also hang to dry, but this can take up to a month).
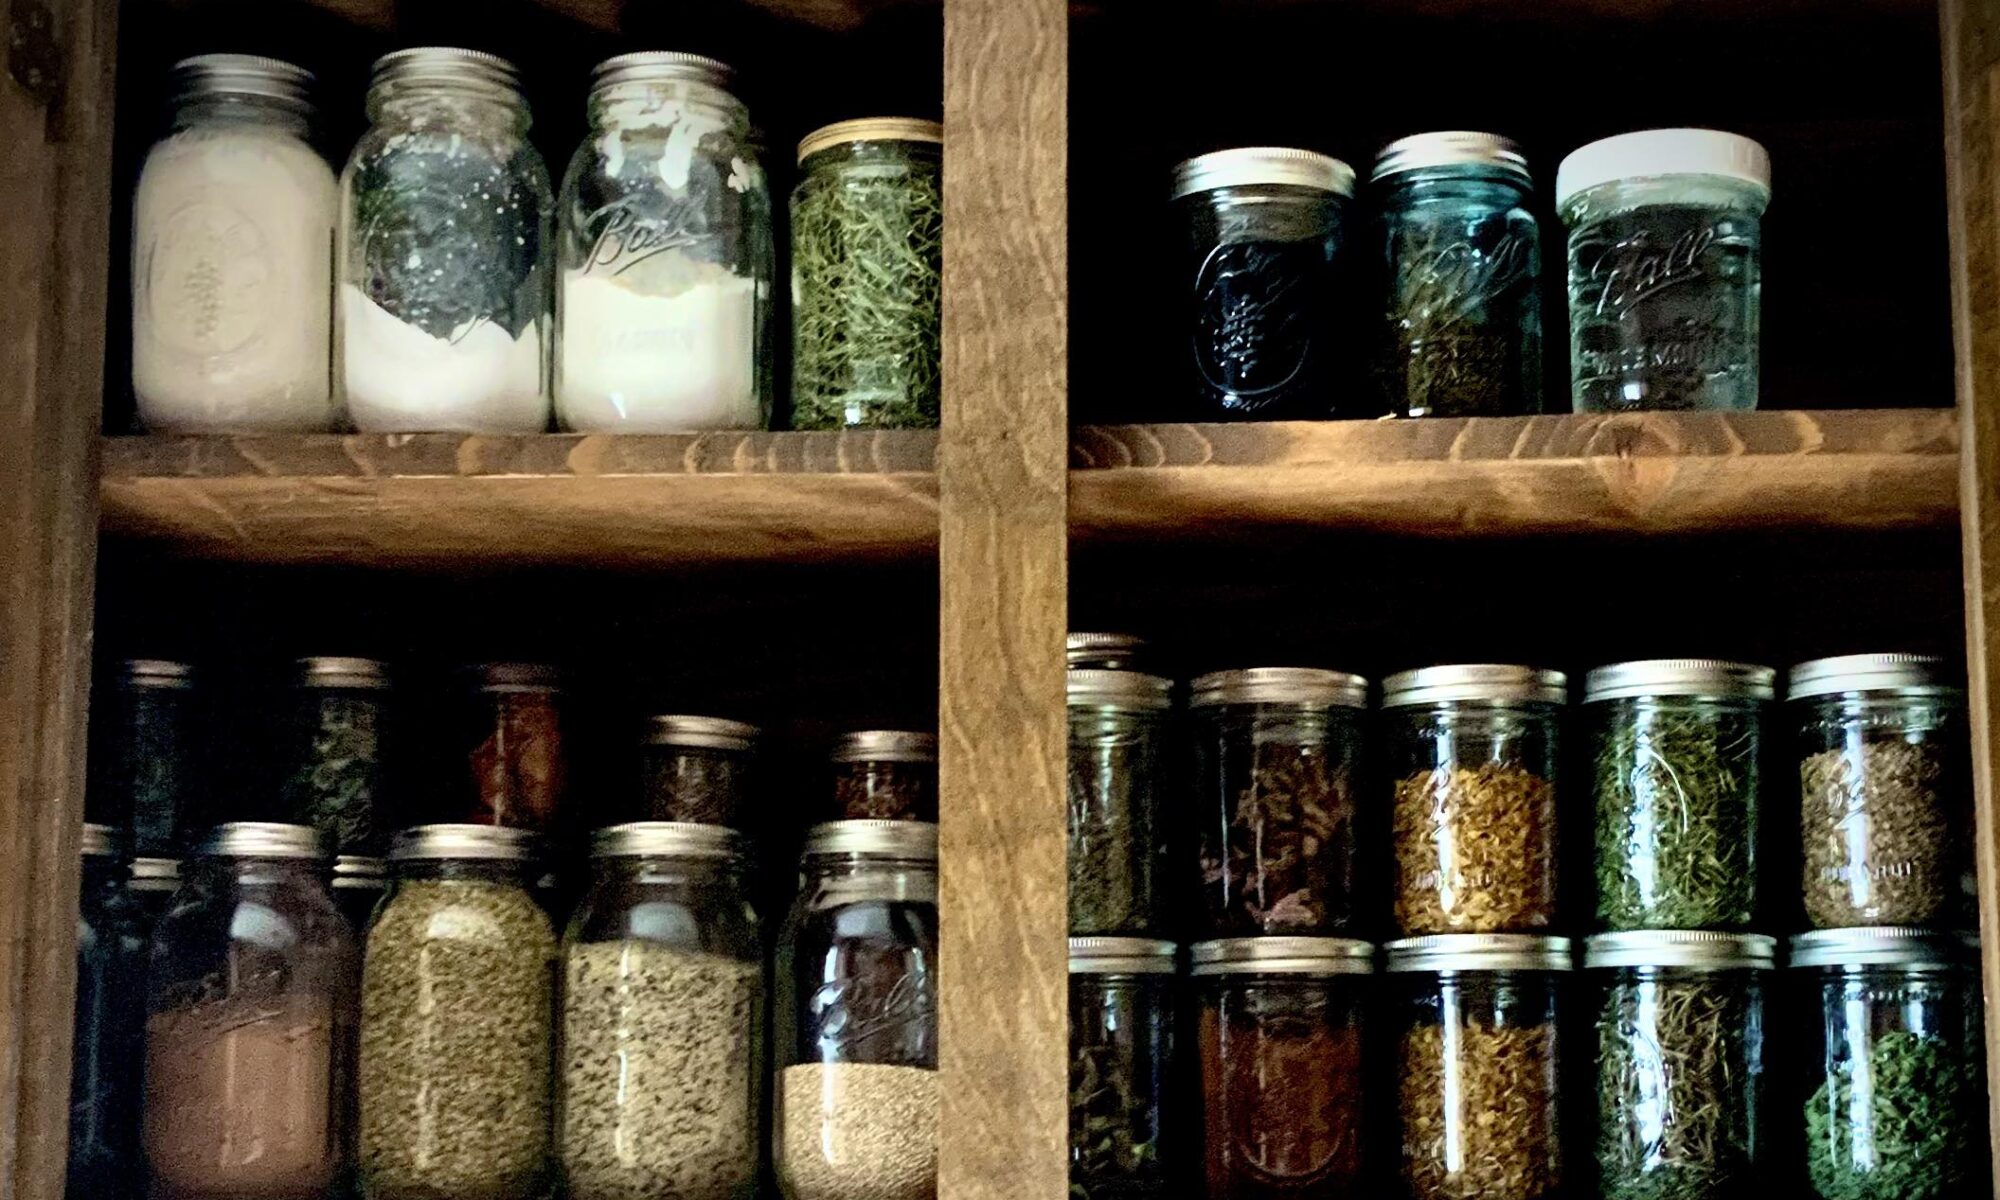
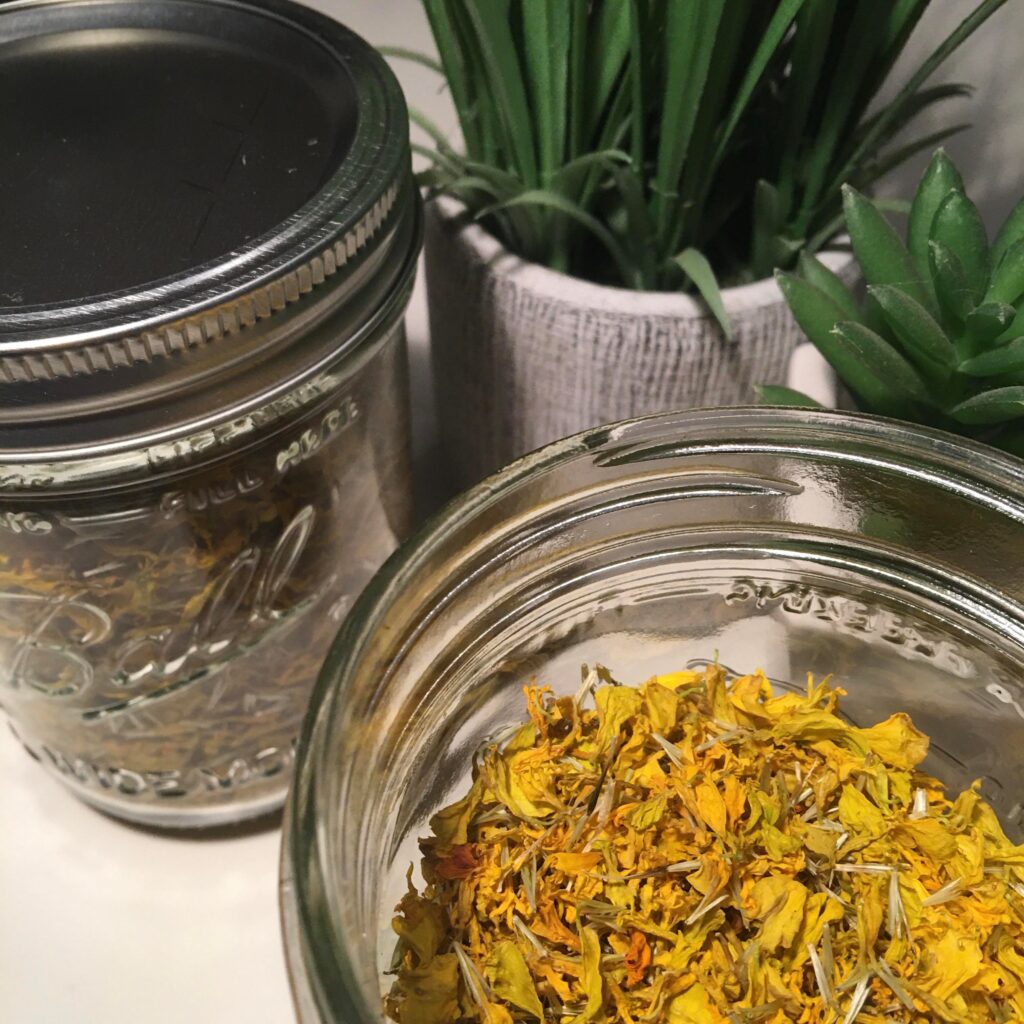
Storing

Once dry, place in a Mason Jar or air tight container and add a Silica Packet if you have one. These can be stored on the shelf for about a year. You can grind it down into a powder form, but I like to keep my herbs whole so that I can use them for different products, like teas or soaps.

Personal Uses

Your Marigolds can be used for so many things, from beauty products to additions in the kitchen. These are just a few things I use them for. As always, please do your own research on these suggestions and consult with your Medical Professional before attempting to ingest anything that you have not taken before.

Loose-leaf Teas

Top your Salads or homemade Vinaigrette (dried or fresh)

Add color to your Quiche, Stirfry or Soups

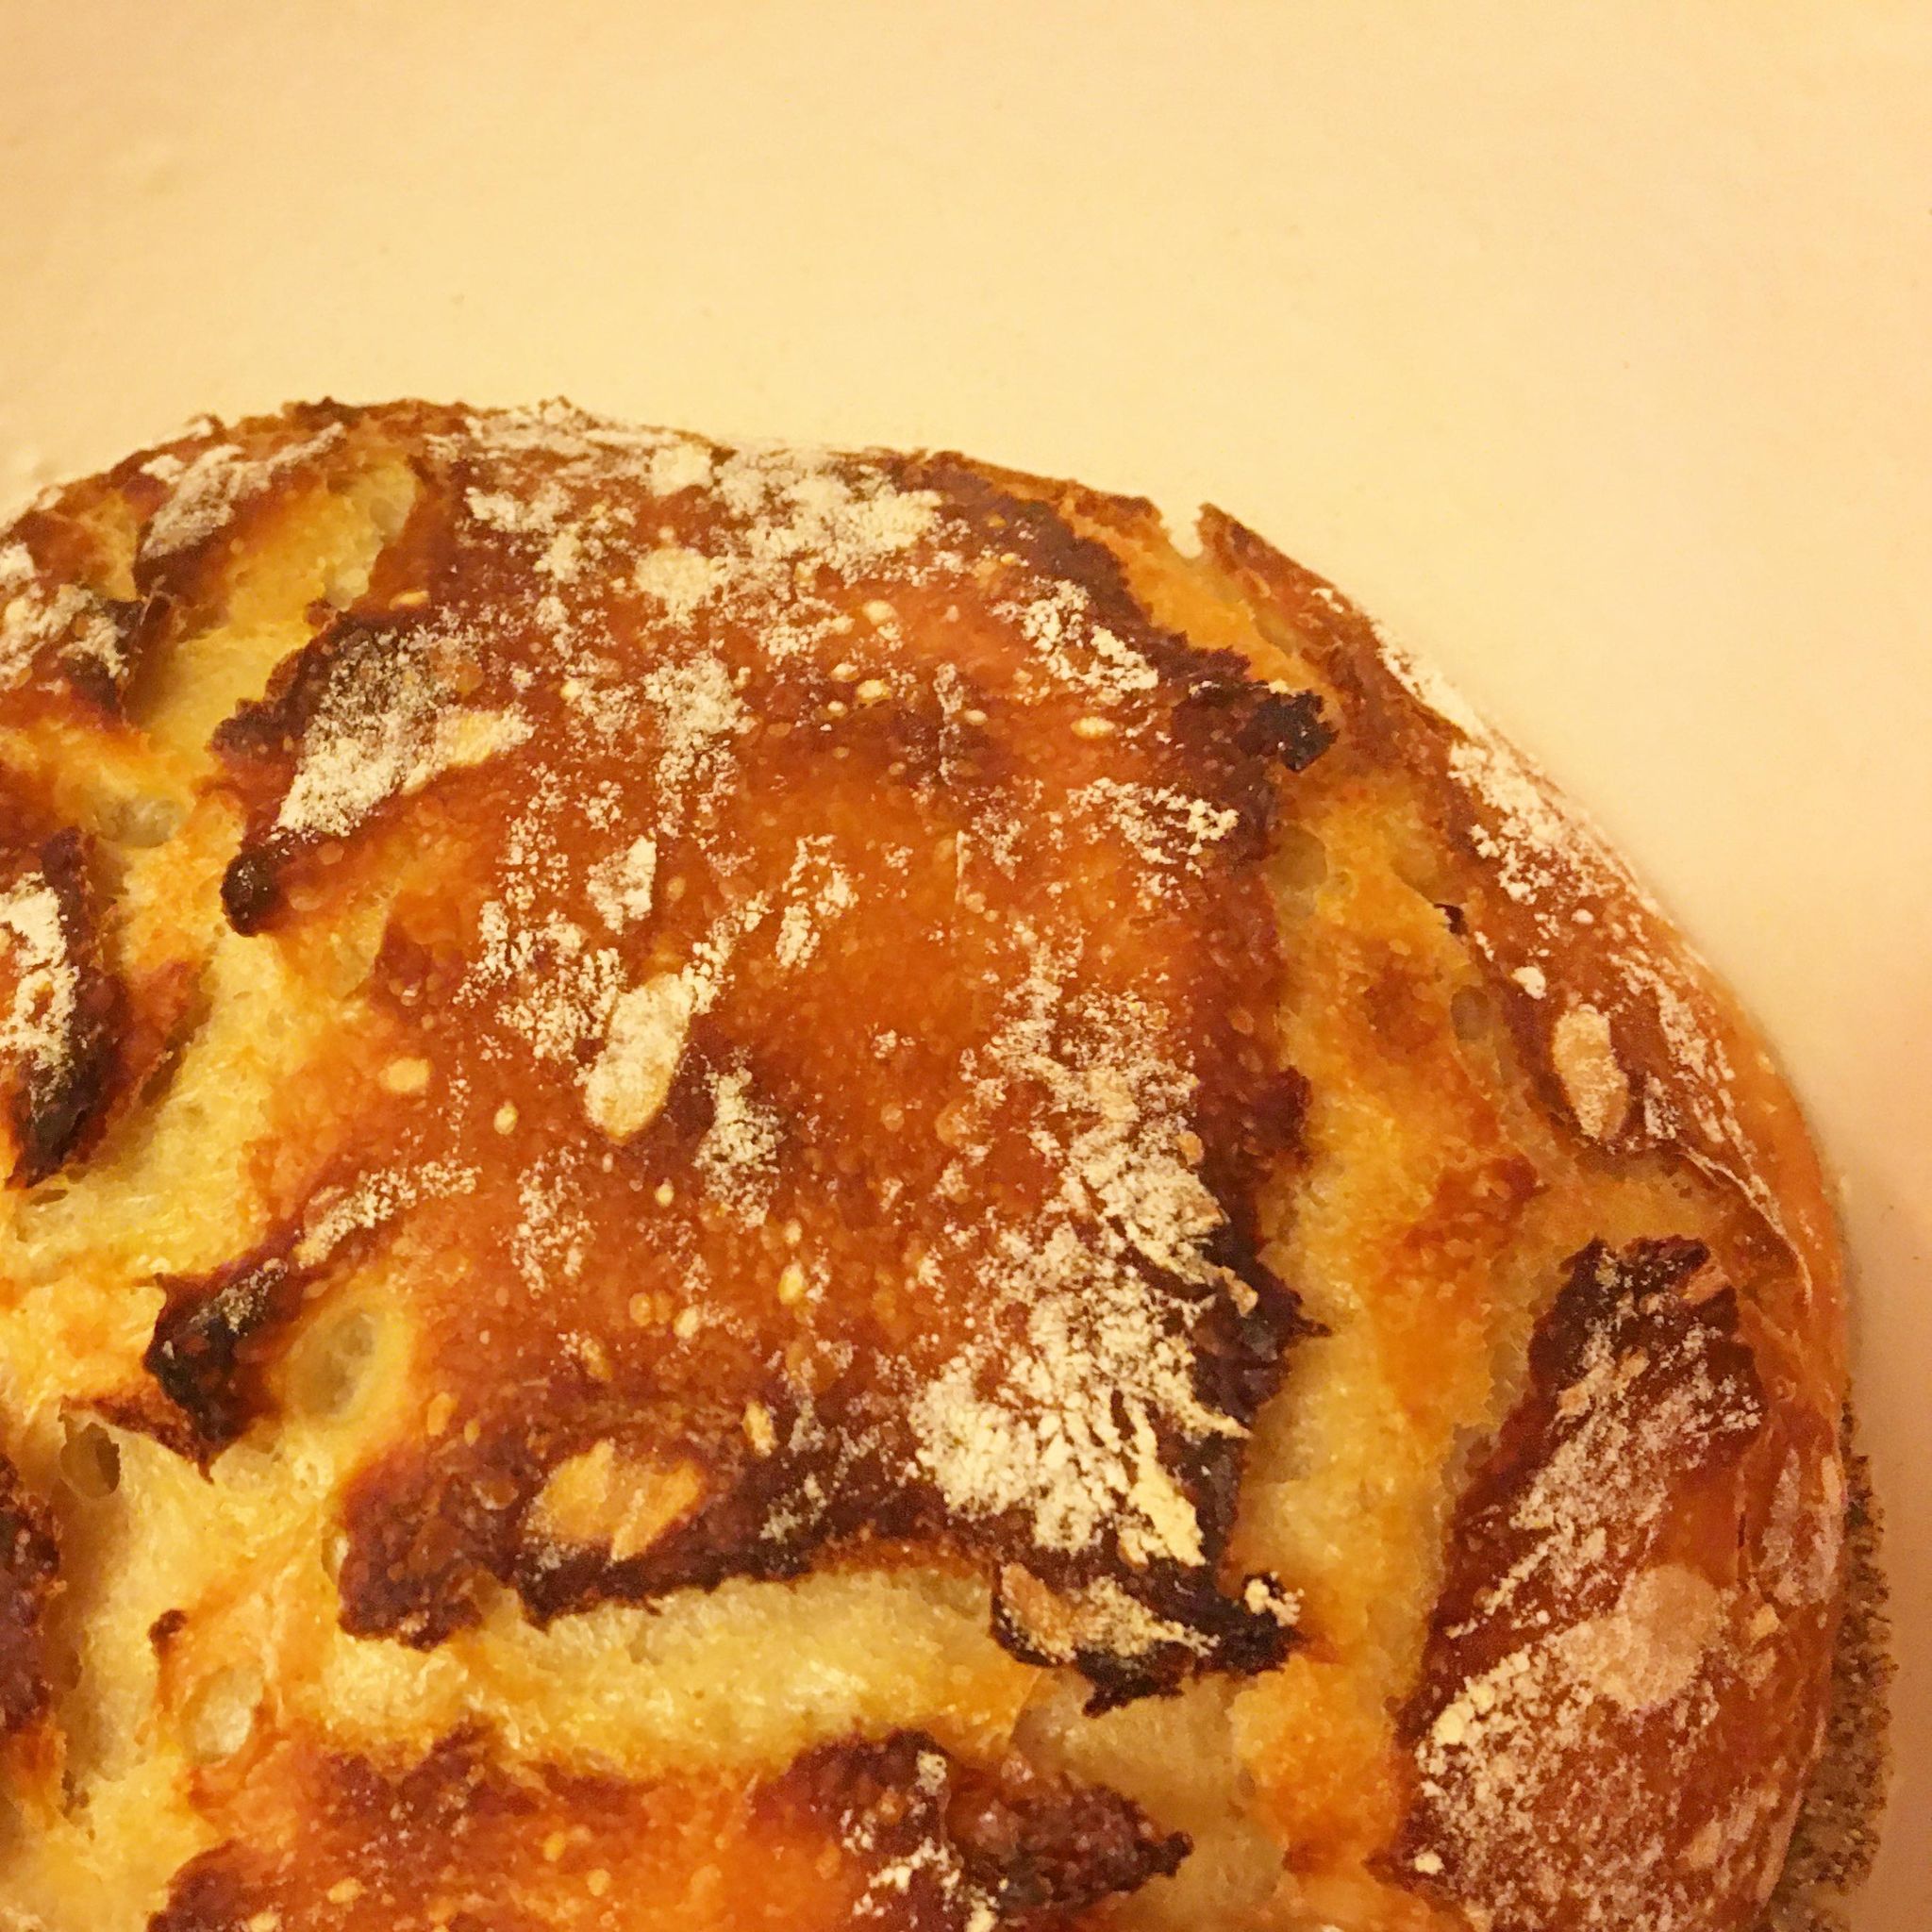
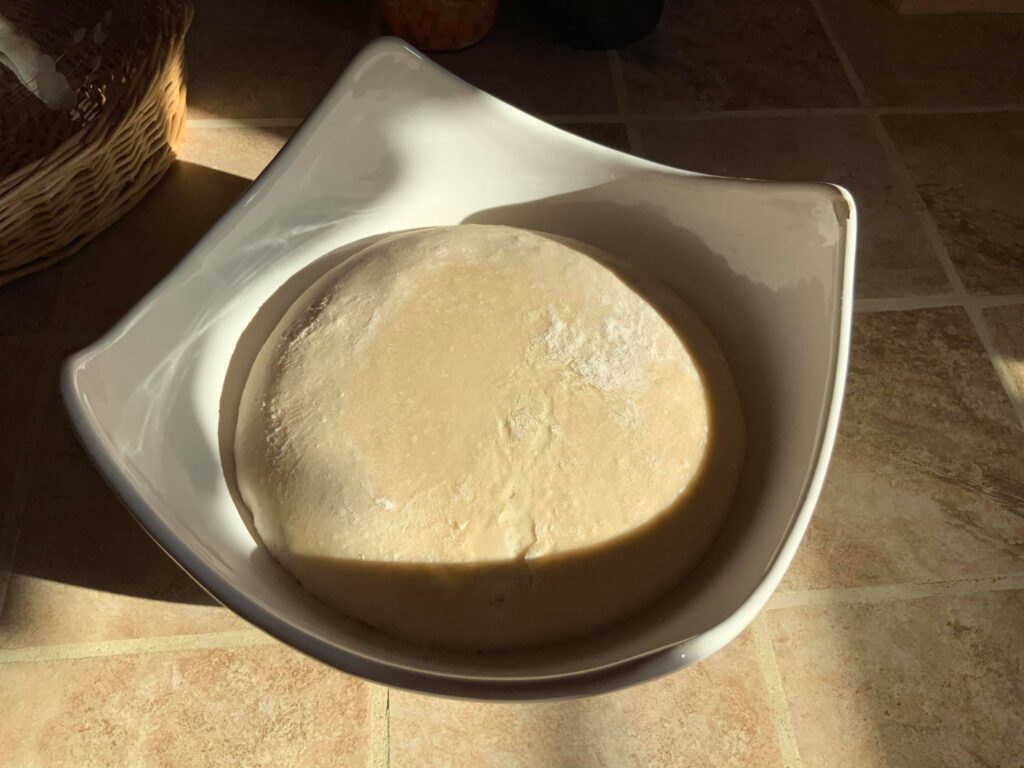
Mix into homemade Artesian Bread

Handmade Soaps, Salves & Lotions

Tinctures

Essential Oil Extract: Wound Care, Sunscreen, Acne, Dry Skin, Diaper Rash, Cracked Feet, Cuticles

So there you have it! Do you have these vibrant flowers growing around your home? What would you like to make from them? Tag us on Instagram & let us know!


Renee Weatherford – Magnolia Hill Homestead

The Best Homemade Sourdough Bread

One year ago this month, I embarked upon a journey into the wonderful world of Sourdough. It was almost as if I had a vision that in a few months, the whole world would be making homemade bread while in the 2020 quarantine. There have been many versions of this recipe – at one point, I simply gave up and tossed my starter in the refrigerator for three months.

But alas – I never gave up on creating the kind of Sourdough that I would buy in a Deli.

This is it...


R E C I P E

Gather Your Tools:

  1. You must have an established Sourdough Starter for this recipe. If you would like to learn how to create one, visit my Instagram Account and watch my Starter Highlight.
  2. A medium Bowl
  3. A Dutch Oven or a Pot with lid
  4. Flour (can be any type – I used All Purpose Flour)
  5. Pink Himalayan Sea Salt
  6. Filtered Water
  7. Parchment Paper (not required)
  8. Sharp Knife
  9. Cornmeal (not required)
  10. Wooden Spoon
  11. Proofing Basket (if you have one)
  12. Towel

Ingredients:

1/2 cup of Active Sourdough Starter

2 cups Flour

1 1/4 cup Lukewarm Water

3 cups Flour

1 1/2 teaspoons of Fine Sea Salt


Instructions:

Do this in the evening so that it has a chance to rise for about 12 hours

In a bowl, mix starter & water together

Work in flour & salt with a fork

Cover with a towel for 30 minutes

Carefully fold into a ball

Cover with a damp cloth & allow to rise overnight in a warm spot

After about 12 hours, pull out dough and reshape it into a ball, being very careful not to deflate the sourdough bubbles

Place on a lightly floured flat surface and allow to set up for 15 minutes

Reshape once again & flour it so that it will not stick

If you have a proofing basket, place seam side up, or simply place in a bowl & cover again for 2-3 hours (you want it to double in size, so keep an eye on it)

Preheat your oven to 450 degrees with Dutch Oven inside to get it nice and hot

If you have Cornmeal, place some in the bottom of your Dutch Oven to keep it from burning

Carefully remove your dough & plop into cookware. If you have it, you can use a square of Parchment Paper

With a sharp knife, slice a few slits into the top (get fancy if you can – a pretty leaf or design can look very festive)

Bake for 20 minutes with the lid on

Remove lid and continue baking for an additional 30 minutes

Check for consistency – you can continue baking until desired color

Your bread should come out with a golden, cracked top and a thick crust

If you bake this bread from scratch, let me know how it turned out! Enjoy!!

Renee Weatherford

For more recipes and Homesteading Tips, head on over to our Instagram Page where we share our New Farm adventures in the Stories and Highlights.

Want to print this Recipe? Click Here

What Happened to Renew Your Space?

The Short Answer: I’m still here – Teaching Organization Workshops Virtually. However, we have moved from the West Coast to a Farm in the South, and I am venturing into some new endeavors…

2009 was an auspicious year. I was full of creative energy and caught the Blogging spark. We had just moved to the beach in Southern California, and it was a tough time to jump into a new career, having just come out of the recession. My previous careers were in non-profit which were in a hiring freeze at that time, so I was forced to look inward for resources. I wrote a book called “Renew Your Space at Your Own Pace” which compiled information from several Organizing Blogs I had written. I started a Group on Facebook which is still active today. The next year I launched my Professional Organizing business in Ventura, CA which took off like wildfire. It was not only a saving grace for us, it was a fulfilling dream come true. Through the last ten years, I have kept it going with Virtual Appointments as well as Consulting Businesses.

Ten years is a very long time for a one-woman show. I have been my own Hands-on Employee, Webmaster, Bookkeeper, Customer Service, Marketer, Advertiser, Editor, Moderator, Workshop Facilitator, Speaker…. among so many other things.

When 2020 rolled around, we began to feel restless again. Similarly to when we sold everything to pursue a life in Costa Rica, turned Oregon, started a Boutique and restored an old house. But this was different. We both felt a draw to a simpler life – one in which we can live debt-free and enjoy the great outdoors every day. We spent many months dreaming up our perfect Farm Life, ultimately finding everything we needed in South-Western Kentucky. Nestled on the Kentucky-Tennessee boarder, we traveled 2,000 miles and transitioned our lives to settle into a full country adventure. We landed here in June of 2000, and it has literally taken me over six months to feel settled in enough to write this.

Now, HERE is the reason my Website + Blog + Workshops have been missing…

I lost my mojo about a year before our move, when WordPress accidentally deleted my entire website, back-ups and every single Blog I had written since 2008. Literally hundreds of articles disappeared in an instant. The Sacred Space Course, Organizing Challenges & Member Vault disappeared as well. After fighting with them for weeks, I finally gave in and decided to retreat for a while. I had writer’s block from this (I still do), and although I can use the Wayback Machine to see the ghost of it, I haven’t felt motivated enough to recreate it.

So what does that mean for Renew Your Space?

Now that I am in this space of inspired action & feel the pull to dip my toe back in, I want to try something NEW. Have you noticed that this website is now called “The Weatherford Homestead”?

I’ve been so drawn to the “Modern Homesteading” lifestyle for a few years and I have really jumped into Self-Sufficiency since we’ve been here. I would like to share our journey of relocation across the country, designing a new garden, rehabilitating an old orchard, self-taught baking from scratch, building an apothecary, learning how to become self reliant & caring for animals. I would also like to continue offering my workshops on Space Renewal here as well.

I will be splitting this website in two for both endeavors…

The Weatherford Homestead will be sharing adventures on our new YouTube Channel our Instagram Page (The Flip Flop Farmers), and this Blog every week. I share daily snippets of our new Homestead Life in the Instagram Stories & have a substantial amount of content that I’ve shared since our move.

I’m not sure how it will all fit together, but I will always work to provide you with quality content, helpful tips and the best service possible in what I do. I really look forward to connecting with you as our Farm grows.

Much love – Renee & Tony Weatherford

Decluttering Old Notes

Decluttering Old Notes

Notebooks filled with referenced ideas and random musings on sheets, which consume our space can be a pain in the neck.

They’re inspired, instantaneous and a necessary part of life.

How to process all of it, and where to put it is the question I get on repeat as a Professional Organizer.

Here is how I handle the paper clutter, and I would love for you to share your ?????? ???? below:

  1. Place it all in ONE pile.
  2. Sort piece by piece into subjects.
  3. Shred obvious garbage.
  4. Pull necessary keepers.
  5. Clip subjects together.
  6. Title each pile.
  7. Transfer the Information.

Number ((7)) is KEY to ensuring that these Notes become useful. (If you need more detail on this step, please reach out).

Note-taking is good for four things:

▪️ Reference
▪️ Memory Building / Review
▪️ Action Items or Scheduled Appointments
▪️ Brain-dumping / Ideas / Observations

The rest is just unnecessary chatter that is filling valuable space.

So, if you’re stuck with a note paper rut, put these 7 Steps into ?????? & let me know how it goes.

???? ??????:

Schedule time in your planner right now to block out 1-2 hours for this experiment!